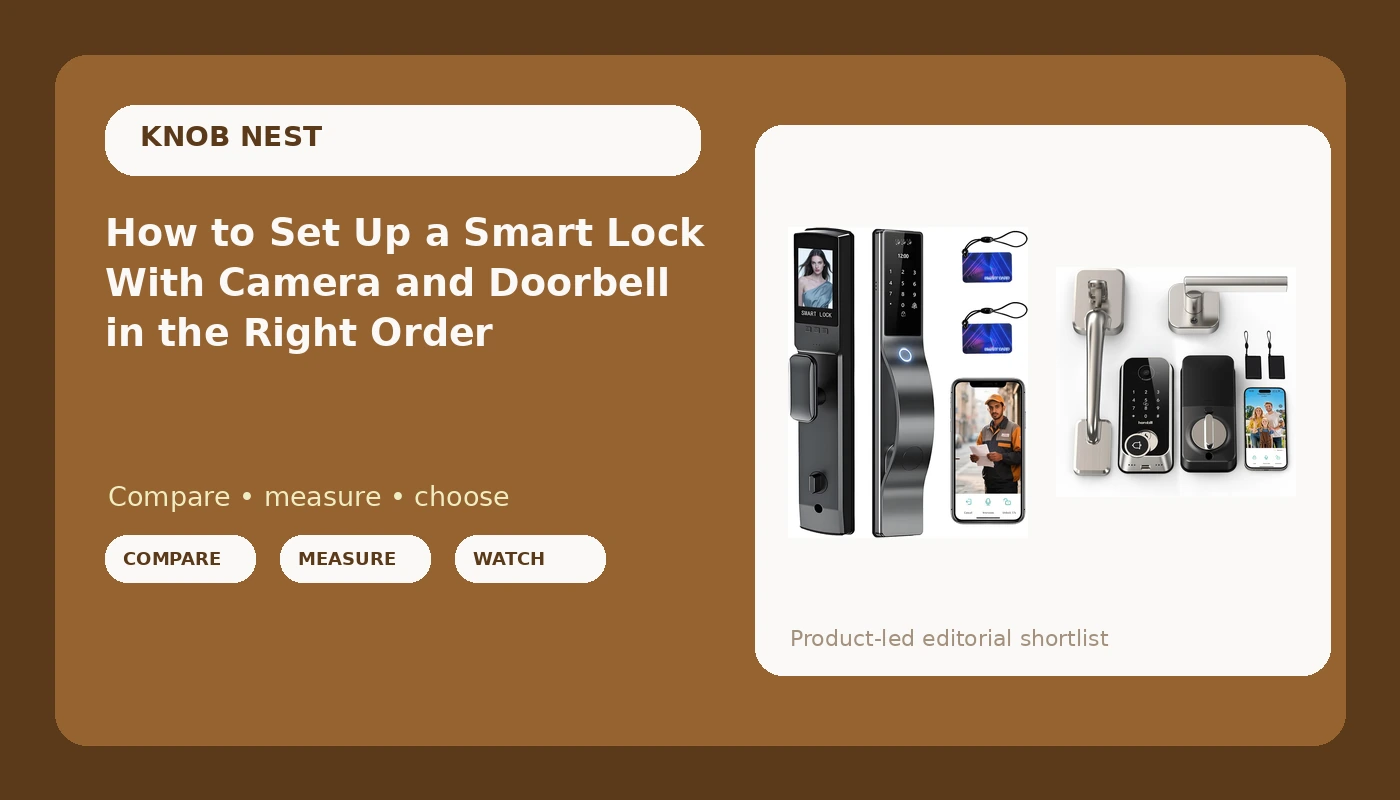
Most people get a smart lock with camera and doorbell wrong in the same place, and it is never the drilling. It is the order of operations in the app. They mount the hardware, they download the app, they tap "add device," and then they sit in the hallway for forty minutes wondering why the lock never appears.
I have installed more than 300 smart locks and doorbells around Columbus, most of them on rentals where a tenant is standing behind me waiting to get back inside. The failures are almost always identical. The lock was never put into pairing mode. The phone was sitting on a 5GHz band. Or the gateway got added before the lock. Every one of those is a setup order problem, and every one of them ends the same way: a factory reset and a wiped code list.
This is the sequence I use. On a standard door with an existing deadbolt bore, the whole thing runs about 20 minutes if your network cooperates and about 90 minutes if it does not. The two locks in this walkthrough are the ones I mounted on real rental doors this fall, and the steps apply to both of them plus most of the Tuya-family hardware you will find on Amazon.
Why you should trust me
I spent five years as a working locksmith before smart locks were anything but a novelty. That meant rekeying deadbolts for landlords, drilling out seized cylinders at 7 a.m., and cutting keys for tenants who lost theirs again. The calls changed around 2021, when landlords started asking whether I could "just make the door open with a code" so they could stop driving across town to hand over keys.
Since then I have installed over 300 smart locks and doorbells. Two are on my own doors, about a dozen are on friends' houses, and the rest are on rentals, Airbnbs, and duplexes around Columbus. I read the manual cover to cover, I get stuck on gateway pairing like everyone else, and I have spent an hour on support chat more than once so that the next person does not have to.
Right now I am running 10 locks and 4 doorbells through a 90-day rental turnover test: three Airbnbs and two long-term rentals, each with real guest turnover, real tenant forgetfulness, and a Columbus winter coming. Every pairing failure, fingerprint miss, and battery drop goes in the same spreadsheet. That spreadsheet decides what I recommend and what I tell people to send back.
How I picked and how I tested
The two locks below are the ones I mounted on doors during this test, one on an Airbnb front door and one on a long-term rental where the tenant is not gentle with anything. Both got the same treatment.
First, I checked the door before the lock: swing, strike plate alignment, and whether the existing bore was clean. Second, I installed the hardware with the phone nowhere near the door, so nothing paired by accident. Third, I deliberately did the setup in the wrong order on the second attempt to confirm what breaks, which it did, and then I ran a full factory reset to see what the recovery costs you in time and lost codes. Fourth, I logged fingerprint first-try success over 30 days, including wet hands, cold hands, and a worn index finger. Fifth, I pulled a night-vision clip from the porch at 11 p.m., because porch pirates do not work at noon.
The things I did not do: I did not bench test anything on a table, I did not judge battery life from a spec sheet, and I did not test on a 5GHz-only network because no lock in this category works there. Every number I care about comes off a door that gets opened by real people.
The two locks in this walkthrough
Both of these are camera locks, meaning the deadbolt, the keypad, and the doorbell camera live in one unit. That is the category this guide covers, and it is the category where the app order matters most.
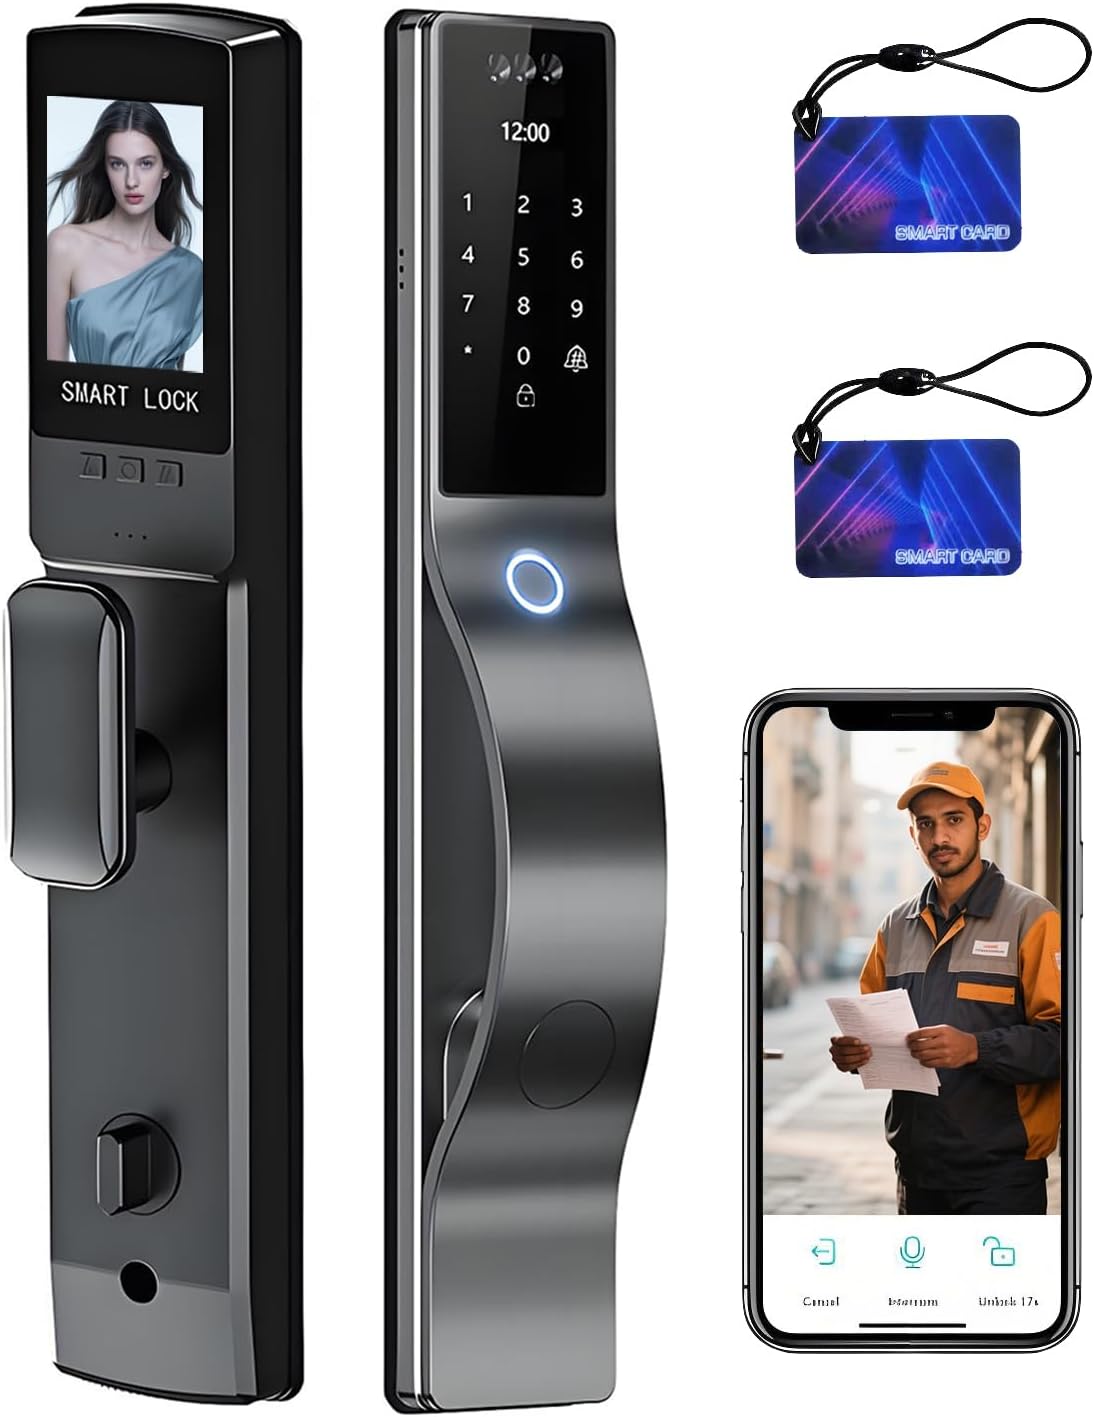
The face-recognition pick: 3D Face Recognition Door Lock with Lockbody, Video Smart Lock with Camera&Doorbell, Front Door Keyless Entry Lock, WiFi&Tuya APP Control/Fingerprint/IC Card/Password/Keys
 Visit on Amazon →
The reason I put this one on the Airbnb door is the lockbody. It ships with the bolt assembly, so you are replacing the entire deadbolt rather than screwing a smart faceplate onto a 20-year-old mechanism that may or may not throw cleanly. On a rental where the previous lock was a $12 builder-grade deadbolt, that is the difference between a lock that works and a lock that looks like it works.
It carries five ways in: 3D face recognition, fingerprint, IC card, password, and a physical key. Five entry methods sounds like overkill until you have a guest whose fingerprint will not read on a cold morning and who is standing on the porch in the rain. The key is your fallback, and the keypad is your second fallback. That is the right number of fallbacks for a rental.
It runs on WiFi through the Tuya app. The app is not pretty, and I have said that about every Tuya lock I have touched, but the hardware underneath is solid and the pairing behavior is predictable once you follow the order in the next section. Because it is WiFi-native, you can check the lock and the camera remotely without buying a separate hub. Check current Amazon price before you commit, since this category moves.
Flaws but not dealbreakers: Face recognition is the feature that sells it and the feature I trust least over time. It works great on a covered porch. On a door that takes direct afternoon sun, expect inconsistent reads and lean on the fingerprint reader or the keypad. If you buy this lock for the face unlock alone, you are buying it for the wrong reason.
Anyone with a mismatched or ancient deadbolt, or a rental where you want remote access without a hub, should start here.
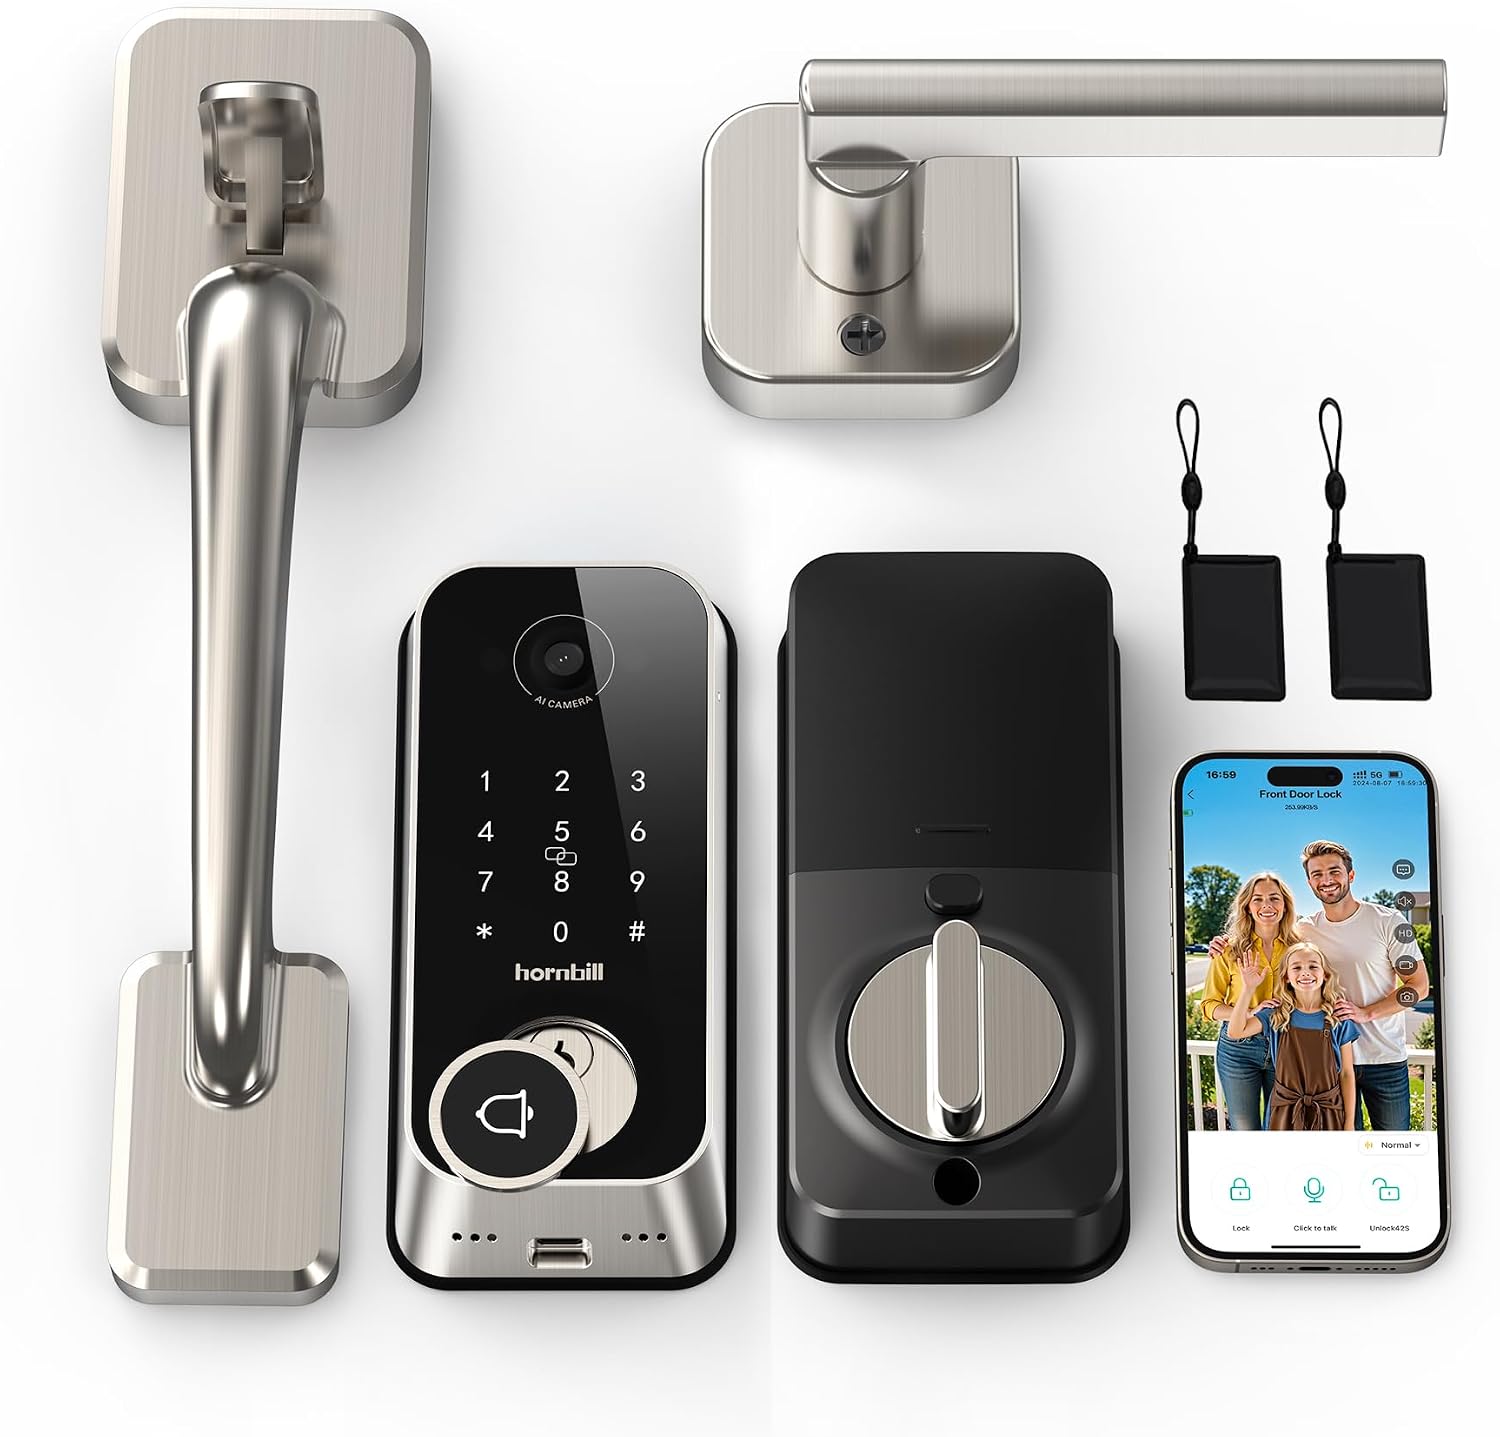
The full handle-set pick: Smart Front Door Lock Sets: 2K HD Camera Lock with Doorbell Kits, Hornbill Fingerprint Keyless Entry Door Lock with Handles, WiFi Deadbolt (only 2.4G) for Remote Control, Auto Lock, Satin Nickel
 Visit on Amazon →
This one is a set, not just a deadbolt. You get the exterior handle, the interior handle, the keypad, and the 2K camera in one box, finished in satin nickel. That matters when the door has a worn-out passage handle that wiggles in your hand, because now you are fixing both problems in one trip instead of buying a handle separately and matching finishes badly.
The 2K camera is the headliner, and I will say what I always say about resolution: field of view beats pixels. A 2K sensor that sees your whole porch and the walkway is worth more than a sharper lens pointed at the doormat. Mount it, then check the live view on your phone and confirm you can see a person at the bottom step, not just a hat.
Auto lock is built in, and that is the feature I care about most on a rental. It ends the "the tenant forgot to lock up" phone call permanently, because the door re-locks itself on a timer whether anyone remembers or not. Set that delay on day one, not week three.
Notice the label on the box: only 2.4G. That is the honest version of a spec most manufacturers bury on page 14 of a foldout. It is not a limitation you can argue with, it is just how this hardware talks, and it is the single biggest reason a setup fails. Check current Amazon price, then check your router before you order.
Flaws but not dealbreakers: A full handle set takes longer to install than a deadbolt swap, because you are now dealing with two bores, a latch, and a strike plate that may not line up with your existing frame. Budget an hour for the first one. Also, some lever handles in this category have a clutch that lets the handle turn without retracting the latch when the lock is engaged. That is a design quirk, not a defect, but nobody puts it in the manual and it causes a lot of panicked phone calls.
Anyone replacing a whole entry set, or anyone who wants a matched handle and deadbolt in one purchase, should look here.
What you need before you touch the door
Gather this before you pick up a screwdriver, because the app steps are the part that goes wrong and you do not want to be running to the router mid-install.
- Your 2.4GHz network name and password, written down. Not the guest network with a captive portal, not the 5GHz band with the same name.
- A phone with the lock's app installed and an account created before you start. Create the account at the kitchen table, not on the porch.
- A Phillips screwdriver, a tape measure, and a pencil.
- A charged phone or a battery pack, because you will be testing the motor repeatedly.
- A second person if you are installing a full handle set. Holding an exterior handle, an interior plate, and a screwdriver at once is a three-hand job.
The setup order that actually works
Step one: inspect the door, not the lock. Open the door and look at the strike plate. If the old deadbolt left a chewed-up strike, or the door sags enough that the bolt rubs, fix that first. A smart lock on a misaligned frame is a keypad on a door that does not secure. This is the step everyone skips and the step that causes the most "my lock jams" complaints.
Step two: confirm 2.4GHz. Log into your router and check that a 2.4GHz band is broadcasting. If your router uses one name for both bands, you may need to temporarily split them or move far enough from the router that your phone drops to 2.4GHz during setup. This one detail is the cause of more failed pairings than any other.
Step three: install the hardware with the phone in another room. Handles first, then the deadbolt assembly, then the interior plate, and batteries dead last. Do not power anything on yet. If the lock beeps to life while you are still holding screws, it can enter pairing mode on its own and you will be chasing a device that already gave up.
Step four: put the lock into pairing mode before you open the app. On most Tuya-family locks this is an undocumented button combination, usually a hold on two specific keys until the ring flashes. Find it in the manual before you start tapping. If the lock is not flashing, the app will search forever and find nothing.
Step five: add the lock to the app first. Create the account, then add the lock as a device. Name it something you will recognize in a list of ten, like "Front Door" or "Unit B Front," not "Lock 1."
Step six: only now power the gateway, if you have one. The gateway is the little hub that bridges the lock's Bluetooth to your WiFi. Pair the lock to the app first, then add the gateway, then let the gateway adopt the lock. Backwards means a factory reset, and a factory reset wipes every code you have set. I have done it twice this month and it is a stupid way to lose an hour.
Step seven: set auto lock and your codes. Turn auto lock on with a delay that makes sense for your door, usually 30 to 60 seconds. Add your own code first, then the tenant or guest codes, then any one-time codes. If the lock has an anti-peeping pin, use it, especially on a street-facing door. It lets you type random digits before your real code so anyone watching over your shoulder sees nothing useful.
Step eight: enroll fingerprints properly. Enroll the same finger three times, not once. Enroll a thumb and an index finger, so you have a spare when one hand is full. Do the enrollment with a clean, dry finger, and re-enroll in winter if your hands crack the way mine do.
Step nine: test the deadbolt throw with the door closed. Watch the bolt as it extends. If it does not fully seat into the strike, the door looks locked and opens with a credit card. Adjust the strike plate until the bolt throws all the way, then test it three more times.
Step ten: test the camera and the doorbell at night. Walk to the porch at 11 p.m. with the porch light off and pull the clip. If you cannot identify a face, move the camera angle or add light. A doorbell that cannot ID someone after dark is just a doorbell.
The mistakes that cost you a factory reset
Adding the gateway before the lock is the big one. Pairing your phone to the 5GHz band is the second. Creating the app account in the wrong region is the third, because Tuya-based apps will happily let you build a whole account in a region your hardware is not registered to, and then nothing will ever appear. A factory reset fixes most of it, but it also erases every code, every fingerprint, and every schedule you set. Treat it as the punishment for doing the order wrong, not as a troubleshooting step.
The other thing that sends people to support is the handle that turns without doing anything. On some lever sets, when the lock is engaged, the outside handle free spins on purpose so nobody can muscle the latch open. It feels broken. It is not. Test it with the door open so you understand what normal looks like before you panic.
The competition and why it lost
August and Schlage come up in every landlord conversation I have, and both make good hardware. August is the retrofit king if you want to keep your existing deadbolt and just add smart control. Schlage wins on build quality and on codes you can hand to a tenant without explaining an app. Neither is in this guide because neither is a camera lock in the same box, and this article is about the install order for a lock that also watches your porch.
Keypad-only locks are cheaper and simpler, and for a back door or a garage entry they are exactly right. They just cannot tell you who walked up at 2 p.m. Battery doorbells exist for renters who cannot touch the wiring, and if your lease forbids drilling, that is your path. None of them change the setup order below, which is the actual point.
What this all costs
The number that matters is not the sticker on the box, it is the cost per door over the life of the lock. Three things drive that number up.
The first is subscription fees. Any camera lock that charges you monthly to view your own recordings is a bad deal, and I will say that in every review I write. Both locks here give you keyless entry and app control without a monthly plan, which is the standard I hold the category to.
The second is the second trip. A lock that fails to pair on the first attempt costs you an hour and, if you are paying someone like me, a service call that can approach the price of the hardware. That is why the setup order in this article is worth more than any spec comparison.
The third is consistency. If you manage more than one property, buy two identical locks so your guest codes and your app workflow carry over between doors. Two different brands means two different pairing routines and two different sets of quirks, and you will pay for that in confusion every turnover. Check current Amazon price on both, then buy the pair.
Do the install once, in this order, and you will not touch the settings again until the batteries need swapping. That is the whole job. The lock was built to do this. Let it.