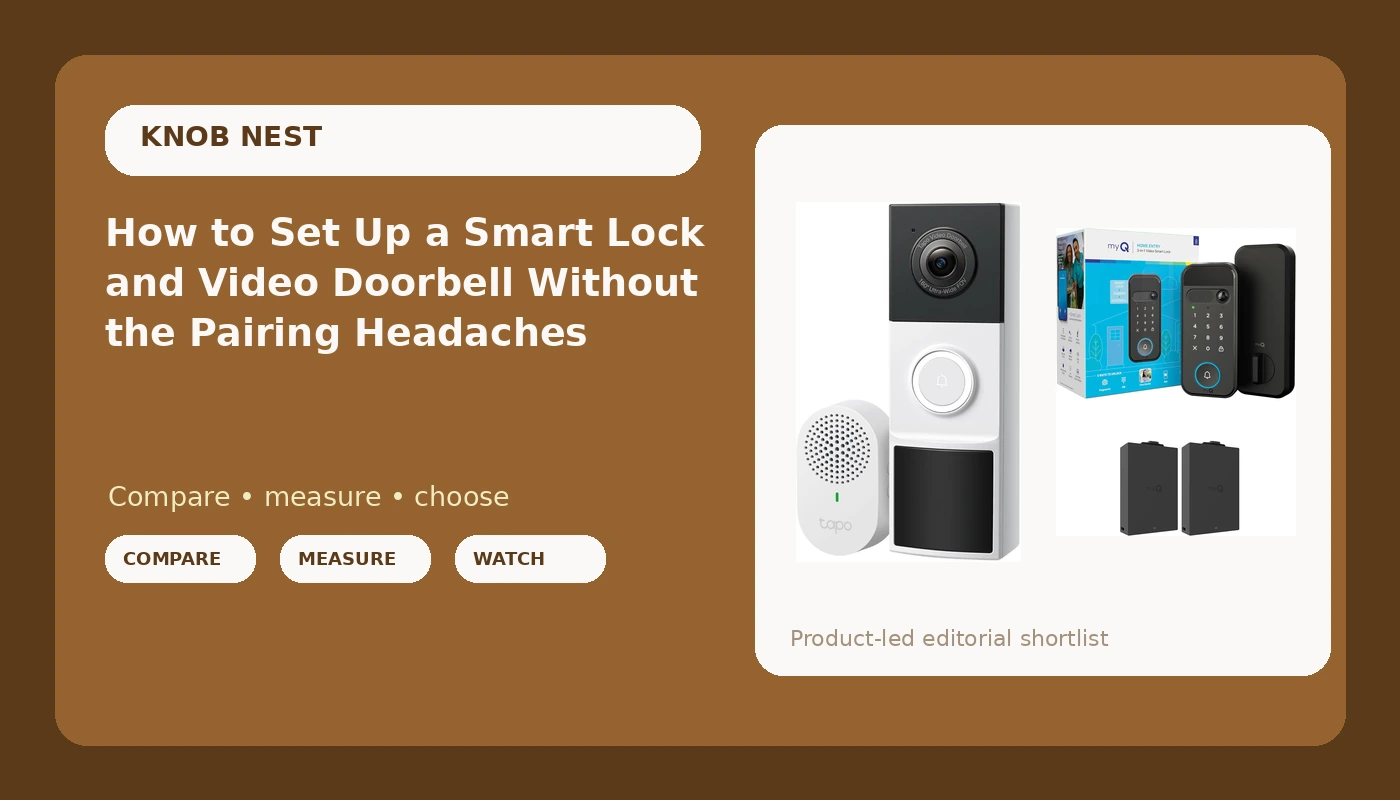
Most people buy a smart lock and a video doorbell in the same cart, then install them in the wrong order and lose an evening to support chat. The hardware is almost never the problem. Smart lock and doorbell setup fails on sequencing: app first, then the hub or chime, then the physical deadbolt, then the camera angle. Get that order right and the job takes an afternoon, not a weekend.
I spent five years as a working locksmith in Columbus before any of this was smart. I rekeyed deadbolts for landlords, drilled out seized cylinders at 7 a.m., and cut keys for tenants who had lost theirs again. The calls started changing around 2021, when landlords began asking whether I could just make the door open with a code so they could stop driving across town to hand over keys. That question is why I bought my first smart lock, and why I have installed more than 300 locks and doorbells since.
Here is what I have learned about the order that works, the mistakes that cost people a factory reset, and the two devices I would put on a rental door this year.
Why you should trust me
I am not a tech journalist and no brand pays me. I am the guy who shows up with a drill, a rekey kit, and a spreadsheet. Every lock I recommend gets installed on a real door, paired to a real network, and factory reset once on purpose so I know what recovery actually looks like.
Right now I am running 10 locks and 4 doorbells through a 90-day rental turnover test: three Airbnbs and two long-term rentals, real guest turnover, real tenant forgetfulness, and a Columbus winter on the way. I log every pairing failure, every fingerprint miss on wet or worn hands, every battery drop, and every call from a tenant who forgot to lock up. That log decides my picks, not a spec sheet.
I have been burned too. One fingerprint lock died at month seven and locked out a guest on a Sunday night. That is why every pick here has a backup way in, and why I will tell you when a feature is decoration.
How I picked and how I tested
Four things decide whether a lock or doorbell earns a spot on a rental door.
Can I install it in 20 minutes on a real door without calling support? That includes pulling the old deadbolt, checking the backset, and confirming the bolt throws fully into the strike plate. If it takes longer on a standard door, the buyer at 11 p.m. will hate it.
Does it pair on the first try, in the right order? Almost every hub in this category speaks 2.4GHz WiFi only. If your router broadcasts 5GHz alone, or splits the bands under one name, the device never connects and the manual never explains why.
Does the fingerprint reader still work at month seven? A reader that works on demo fingers at week one proves nothing. I log first-try success over 30 days and note how it behaves with wet hands, gloves, and a worn index finger.
What does it cost per door when a landlord buys six? Hardware plus subscription. Paying monthly to open a door you already own is the worst deal in smart home, and it kills otherwise good hardware.
For doorbells I add one test: a night-vision check of a real porch at 11 p.m. Porch pirates do not work at noon, and a doorbell that cannot identify a face at night is just a doorbell.
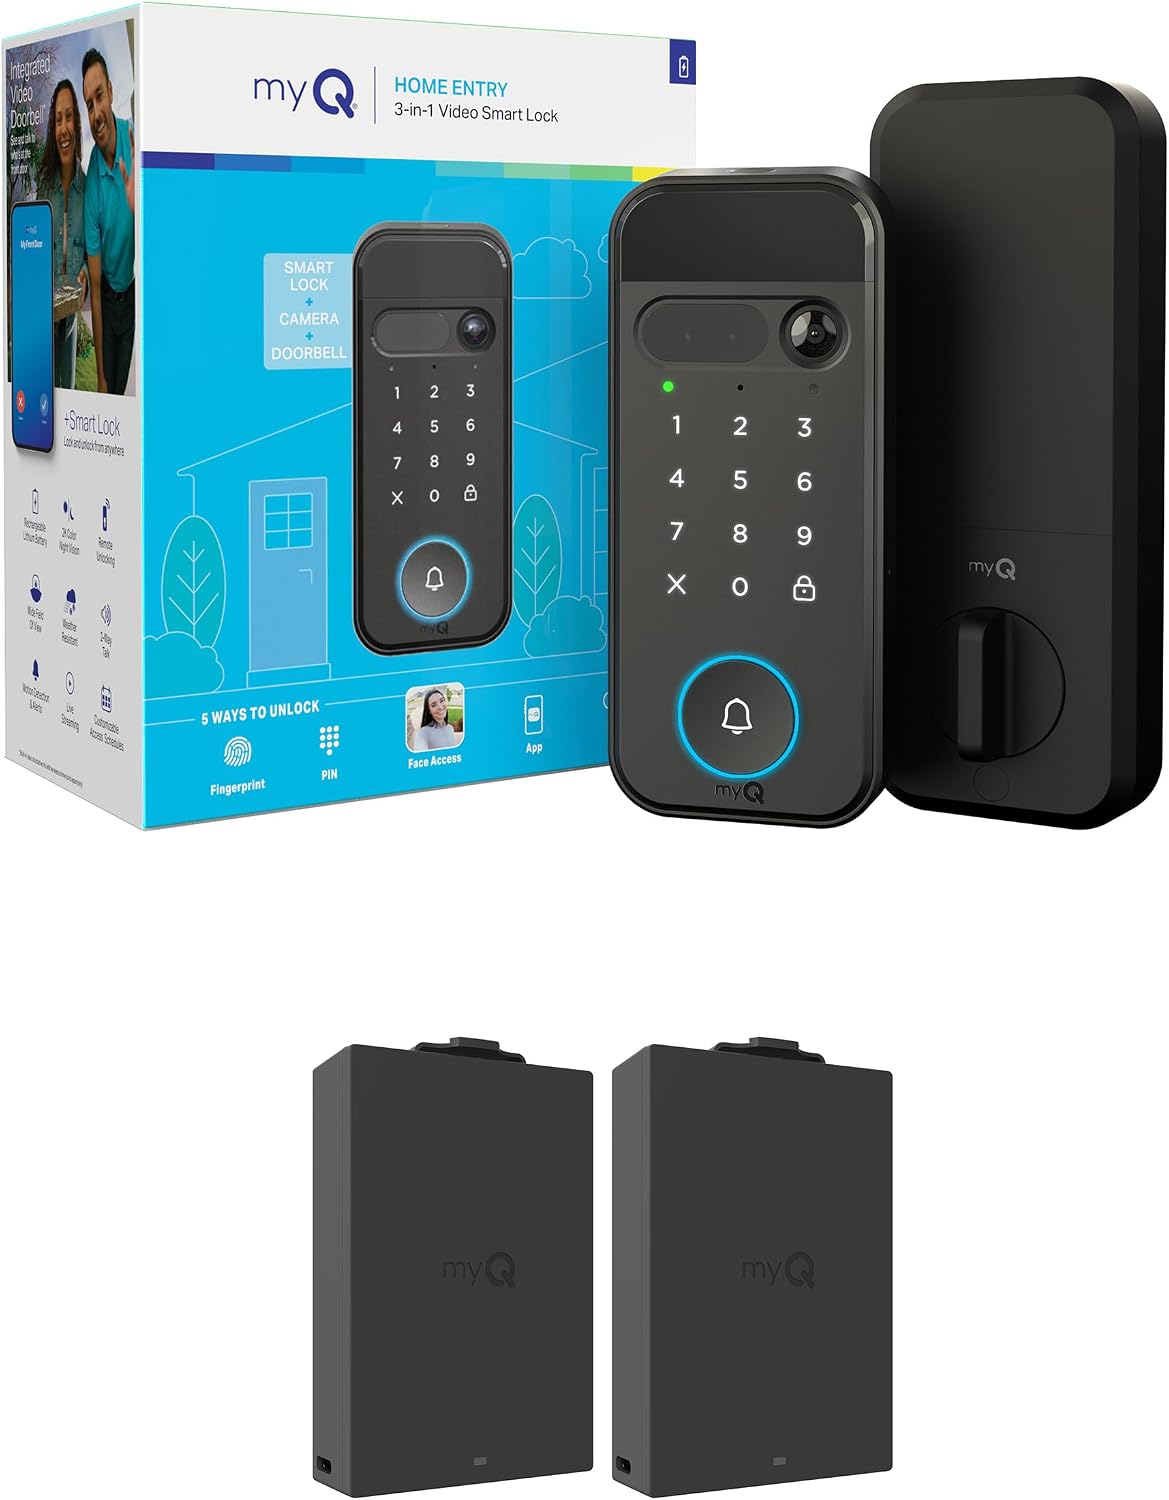
The all-in-one pick: myQ Secure View 3-in-1 Smart Lock Deadbolt + Extra Battery
 Visit on Amazon →
This is the one I point landlords to when they want the fewest holes in the door. It is a deadbolt, a keypad lock, and a doorbell camera in one piece of hardware, which means one install, one app, and one thing to explain to a tenant. You get keyless entry with face, fingerprint, and PIN access, app control, a 2K HDR camera with color night vision, and two-way audio, plus a spare battery in the box.
Two details matter more than the feature list. First, the extra battery. A camera built into a deadbolt is doing two jobs on one power source, and a dead battery on a lock is a lockout, not an inconvenience. A charged spare on the shelf is the difference between a five-minute swap and a locksmith call. Second, because the camera lives in the deadbolt, it aims wherever the deadbolt is, usually straight across the porch. That is a real field-of-view compromise next to a doorbell mounted at chest height, and it is the trade you make for a cleaner install.
Flaws but not dealbreakers: one device means one point of failure. If the camera side acts up, you still live with the lock. Keep a physical key where a neighbor can reach it, and test the keypad before you trust it with a guest.
Best for a rental front door where you want a keypad, a camera, and a single install.
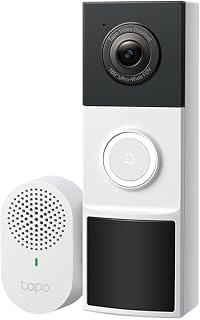
The standalone camera pick: Tapo 2K Wireless Smart Video Doorbell w/Chime, 160° Ultra-Wide View, D210
 Visit on Amazon →
Field of view beats resolution, and this one leads with a 160-degree view, which is the number I care about. A 1080p doorbell that sees the whole porch beats a 2K doorbell that only sees the top of a delivery driver's hat. At 160 degrees you cover the steps, the walkway, and the spot where a package actually gets set down.
The included chime solves a problem people find too late. Plenty of rentals and older homes have no working mechanical chime, and a doorbell that only rings in an app is a doorbell nobody in the house hears. Having the plug-in chime in the box means you are not shopping for a separate one on install day.
Flaws but not dealbreakers: a wireless doorbell still needs power from somewhere, so check what is on your door frame before you order. If you rent, read the lease and look at the existing wiring first. Battery doorbells exist exactly for the door that has nothing.
Best for a porch where the camera has to see the whole approach, and for anyone who wants the doorbell and the lock as separate purchases.
The setup order that actually works
Follow this order and you skip most of the pain.
Step one: read the setup page, not the feature page. The pairing order is usually buried in a foldout nobody reads, and it is the most common reason a device will not pair at all.
Step two: get your phone onto the 2.4GHz band. Check your router before you start. If both bands share one network name, temporarily rename the 2.4GHz network so your phone cannot land on the wrong one. This prevents more failed pairings than any other step.
Step three: pair the lock to the app first. Not the hub, not the chime. Lock to app, then add the gateway. Backwards is the classic mistake, and the punishment is a factory reset that wipes every code you set.
Step four: mount the deadbolt and watch the throw. Close the door and watch the bolt extend into the strike plate. If it does not throw fully, the door looks locked and opens with a credit card. Fix the strike plate before you go further.
Step five: set auto-lock before you hand out a code. Auto-lock re-locks the door after a set delay. For rentals it is non-negotiable, and it ends the tenant-forgot-to-lock-up call forever.
Step six: add codes and test every one. Enter each code with the door open so you can hear the bolt move, and turn on the anti-peeping option if your lock has it. That is a privacy code you type before your real code so an onlooker only sees random digits.
Step seven: mount the doorbell at chest height. Aim it so the bottom third of the frame is where a package lands. Not the sky, not the sidewalk.
Step eight: test night vision at 11 p.m. Stand where a delivery driver stands and watch the clip. If you cannot tell it is a person, adjust the angle or add light.
Step nine: pair to Alexa or Google and run one voice lock and unlock. "Works with" on the box means nothing until you have actually done it once.
Where installs go wrong
The 2.4GHz trap. The box screams WiFi in huge type while the 2.4GHz-only requirement sits in the fine print. If pairing times out, suspect this before you suspect a defective unit.
Pairing mode you cannot find. Pairing mode is the hidden state a device enters so your phone can see it. On budget hardware it is an undocumented button combination, and half of all support calls are people who cannot find it.
Fingerprint readers degrade. They are great for six months, then they start missing on wet or worn fingers. Buy a lock with a keypad backup or you will eventually lock out your own guest.
Missing parts. I have sent more people to Home Depot for hardware that should have been in the box than I can count. Inventory the box before you remove the old deadbolt.
Subscription creep. Some features that sound basic, like remote access or stored clips, sit behind a monthly plan. Do the two-year math before you buy.
The competition and why it lost
August and Schlage are the two brands every landlord asks me about. August tends to win on retrofit installs because it can often reuse the existing deadbolt. Schlage tends to win on build quality and on codes you can hand to a tenant without a conversation. Both are worth a look if you want a lock only, and neither is what this guide covers.
Locks running a Tuya or Smart Life app are their own category. The app is ugly and the hardware is often solid, but gateway pairing is where the pain lives, and it is almost always a setup-order problem rather than a bad device.
On the doorbell side, the big subscription brands are fine hardware with a business model attached. If you are happy paying monthly for cloud video, they are an option. If you are not, a doorbell with local storage and an included chime is the answer for most people.
This article lands on the myQ all-in-one and the Tapo standalone for one reason. One covers the door where you want a single clean install, the other covers the porch where field of view is the whole job. Between them you can cover a front door and a back door without buying the same thing twice.
What this all costs
Two devices, one install afternoon, and no wiring beyond what is already on your door.
The recurring cost is the part people forget. Cloud video plans quietly cost more than the doorbell itself after about two years, so decide up front whether you need stored clips or just a live view and a chime. On the lock side, be suspicious of hardware that charges a subscription for basic remote access. Paying monthly to open your own door is the worst deal in smart home.
If you manage more than one door, buy identical hardware for each. Codes and habits carry over, tenants stop calling, and you only learn one app. That is worth more than any single line on a spec sheet.
Start with the setup order, check the 2.4GHz band before you touch a screwdriver, and verify the deadbolt throw with your own eyes. Do those three things and the rest is just following directions.