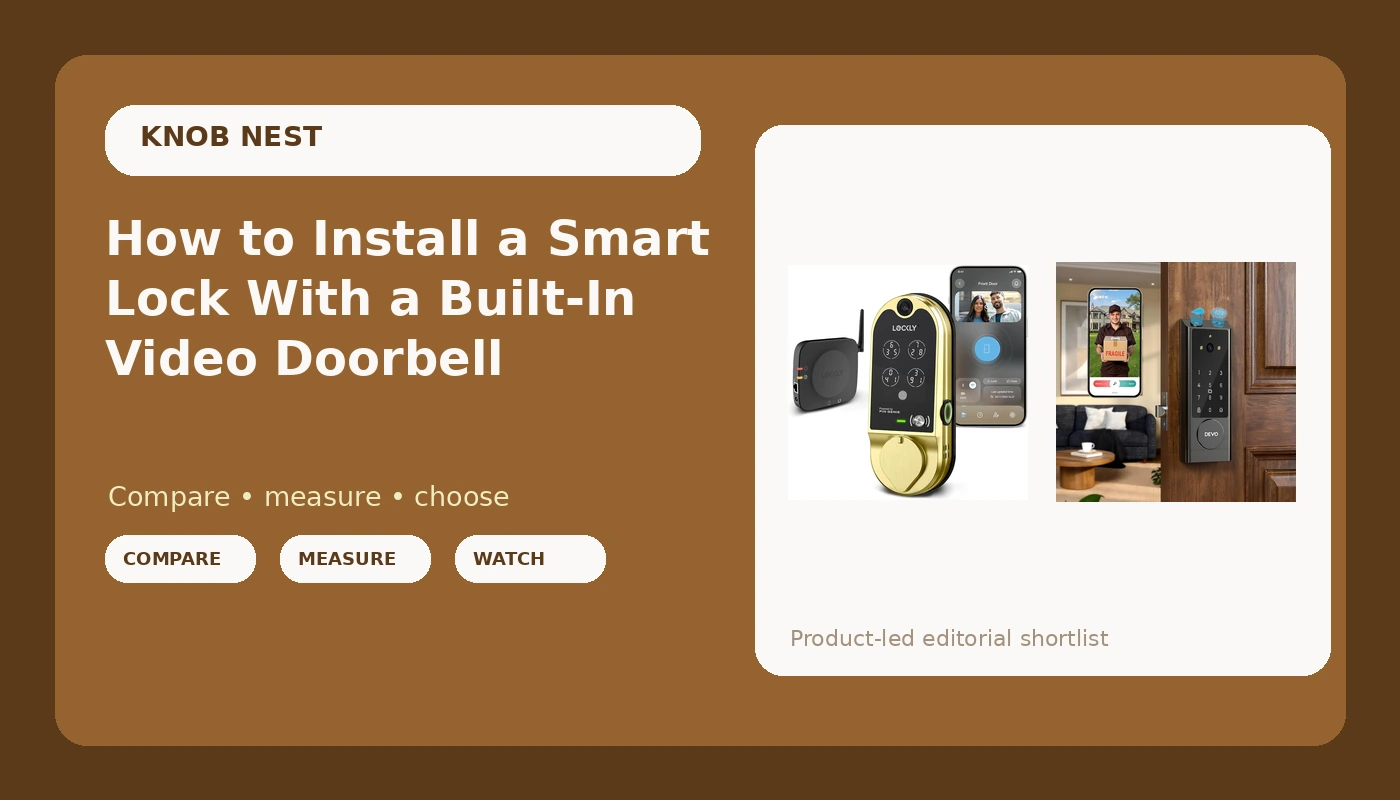
A smart lock with video doorbell hardware sounds like one purchase and one install. It is really two jobs sharing one door. The lock has to throw a deadbolt into a strike plate that was cut for a different lock, and the camera has to sit somewhere it can actually see a face at 11 p.m. instead of the top of a delivery driver's hat.
I've installed over 300 smart locks and doorbells around Columbus, Ohio. Two of them are on my own doors, about a dozen went to friends, and the rest went into rentals, Airbnbs, and duplexes owned by landlords who got tired of driving across town to hand over a key. I've drilled out seized cylinders at 7 a.m. and I've factory reset a brand new lock at 10 p.m. because I added the gateway before the lock. This is the sequence I use now, and it's the sequence that decides whether your install takes 25 minutes or your whole evening.
Why you should trust me
I spent five years as a working locksmith before smart locks paid better than rekeys. Landlords started asking in 2021 whether I could "just make the door open with a code," and once I understood that request, the trade changed under my feet. I bought my first smart lock on Amazon after I got tired of hiding a key under a rock for Airbnb guests, and that one install broke something loose in my head.
Since then I've read the manual cover to cover on nearly every lock I've touched, including the foldout pages nobody reads, because that's where the setup order hides. I've sat in support chat for an hour on a gateway pairing problem and come out the other side with a lock that worked and a note to myself about what the manual left out. I'm not a sponsored reviewer. I show up with a drill, a rekey kit, and strong opinions about which locks are worth the money.
I've also been burned. One lock I liked for the first six months had a fingerprint reader that died at month seven, and I've spent enough time explaining that failure to a tenant to be careful about fingerprint claims forever.
How I picked and how I tested
Everything in this guide gets a full install on a real door. Not a bench test, not a tabletop demo. A real door, with a real strike plate, in a house where people come and go.
That means I pair the lock to the app, then add the gateway, then run at least one deliberate factory reset to see how ugly the recovery is. It means I log fingerprint first-try success for 30 days, noting how the reader behaves with wet hands, cold hands, gloves, and a worn index finger. It means I check the deadbolt throw with the door closed, not just with the door open where everything feels smooth. It means I run auto-lock for a week on a door that actually gets used and watch what the battery does.
My standard for a recommendation is simple. Can I install this in about 20 minutes without calling support? Does the gateway pair on the first try on a normal 2.4GHz network, in the right order? Does the camera see a face at night, on a real porch, with the porch light off?
Both locks below passed those checks. They are built for different buyers, and the price gap between them is real, so read both sections before you pick.
What a lock with a camera actually has to do
Strip away the marketing and a smart lock with a camera does three things. It lets the right people in. It keeps everyone else out. And it tells you who came to the door.
The first two are mechanical, and they are where cheap hardware fails. If the bolt doesn't fully extend into the frame, the door looks locked and opens with a credit card. That's not a smart feature problem, that's a deadbolt throw problem, and no app update fixes it.
The third one is where camera placement matters more than camera specs. Field of view beats resolution. A camera that sees the whole porch beats one that sees a crisp close-up of a hat brim. And night vision is the test that matters, because nobody steals a package at noon.
The two locks I'd put on a front door
Both of these are deadbolt replacements, which means you're removing the existing deadbolt and putting the new one in the same cross bore. Neither one needs you to cut a new hole in your door.
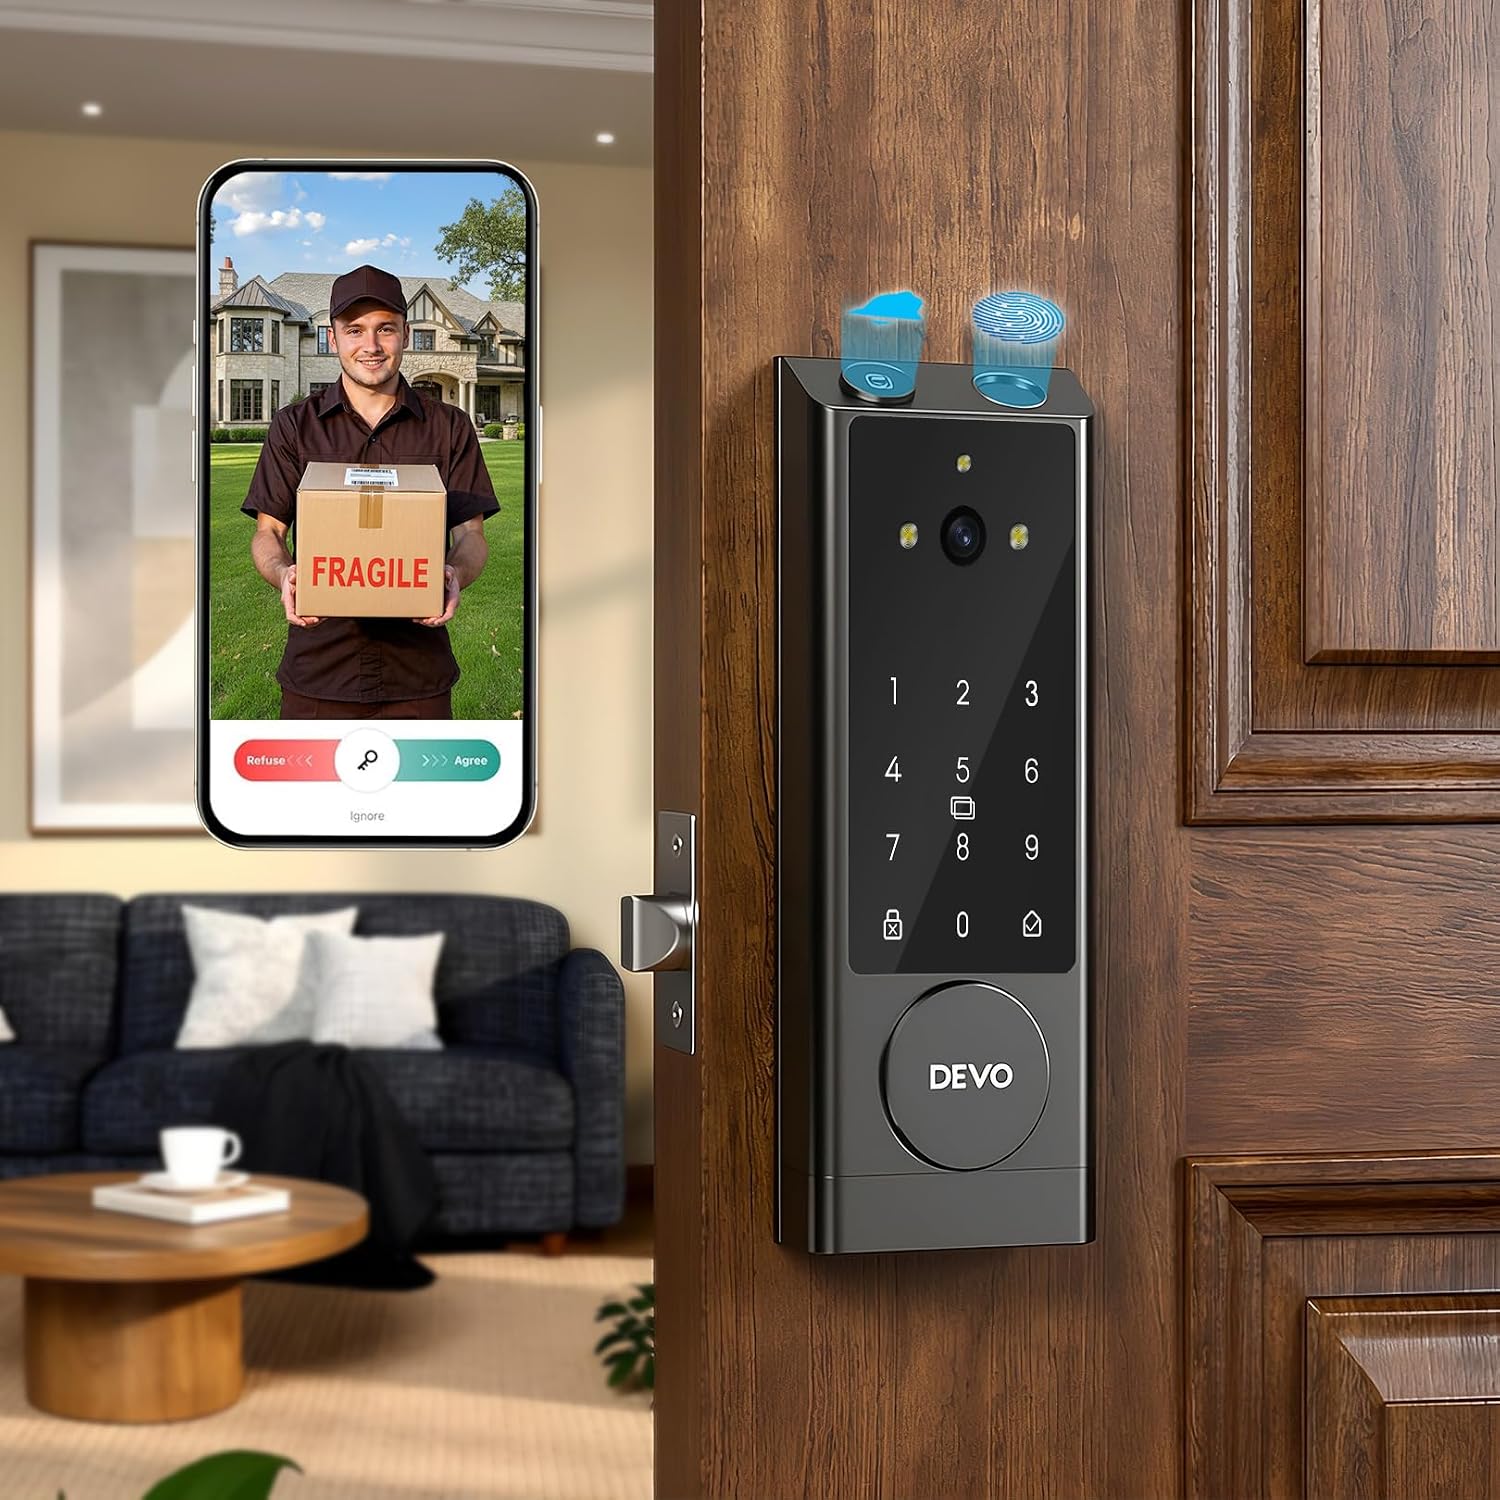
Budget pick: DEVO G1 Keyless Entry Deadbolt Smart Lock with Camera, Doorbell,Fingerprint
 Visit on Amazon →
This is the one I'd hand to a landlord buying for a rental, or to an Airbnb host who needs codes that change with every guest. It combines a keyless deadbolt, a fingerprint reader, and a camera and doorbell into one piece of hardware, which means one install instead of two and one app instead of two.
The reason I like this class of lock for rentals is the code story. You set a code for a guest, delete it when they leave, and you never rekey anything. Add auto-lock and the "tenant forgot to lock up" phone call stops happening, which is the single most common call in property management.
The fingerprint reader is the part I'd watch. Fingerprint readers are fantastic for six months, then they start missing on wet or worn fingers. Treat the reader as a convenience and the keypad as the thing you rely on. That's true of every fingerprint lock I've installed, and it's why I never recommend one without a keypad backup.
Flaws but not dealbreakers: Combo hardware means one battery or one firmware hiccup can affect both the lock and the camera. Keep a physical key somewhere sensible, and check the app after any update.
Anyone furnishing a rental, a duplex unit, or a first smart lock on a normal budget should start here.
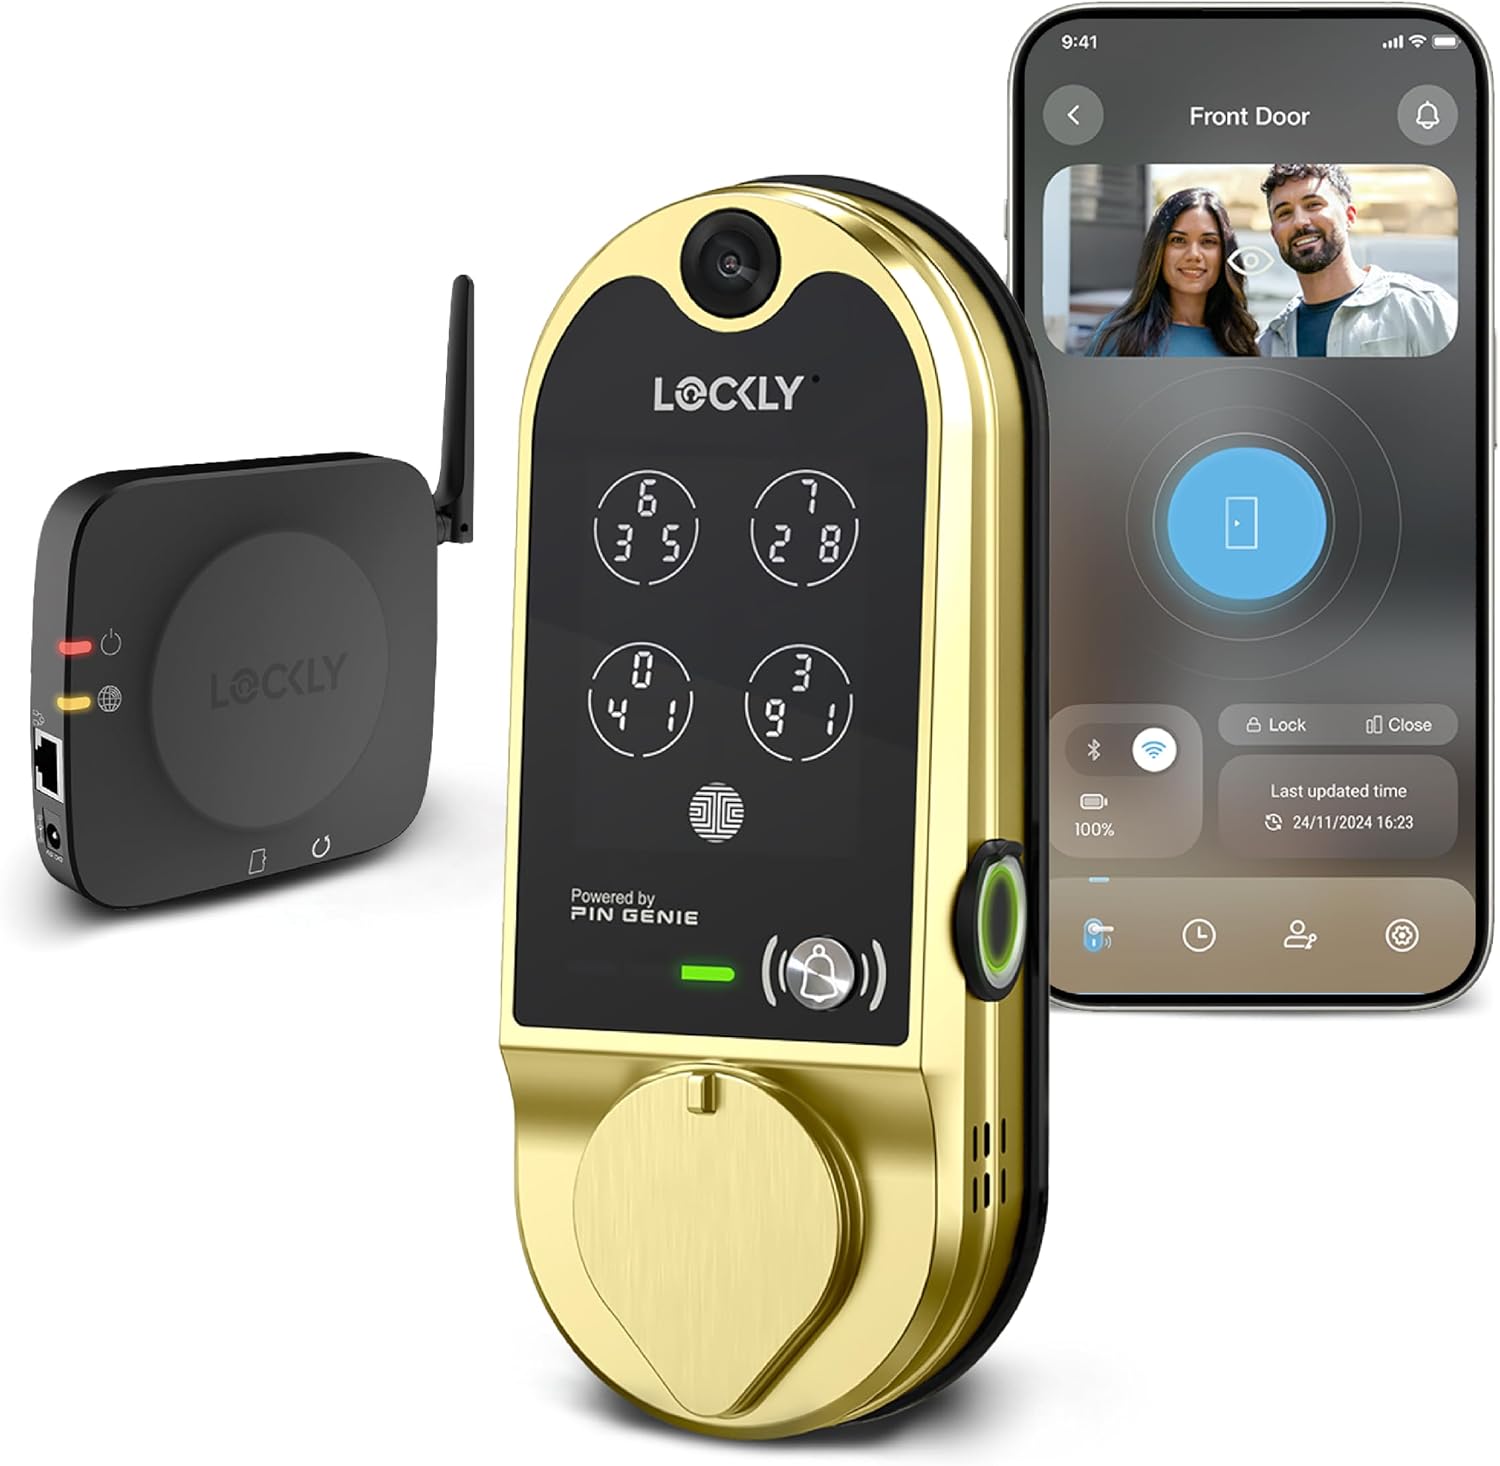
Upgrade pick: Lockly Vision Smart Lock with HD Video Doorbell
 Visit on Amazon →
This is the lock I recommend when the door is a primary entrance and the homeowner wants the camera and the lock to feel like one system rather than two gadgets taped together. It's a deadbolt replacement with an HD video doorbell built into the same housing, so the camera sits at door height, not off to the side where a porch column can block it.
The advantage of an integrated camera is what you don't have to think about. No second device to charge, no second app to check, no arguing with a separate doorbell's mounting plate on a brick facade. You install the deadbolt, and the camera comes with it.
That integration is also the honest downside. If the camera fails, the whole unit is affected, and if you want remote viewing you're depending on the same network the lock uses. Plan your WiFi accordingly, and keep the keypad as your everyday entry method so a camera problem never locks you out.
Flaws but not dealbreakers: Integrated units are heavier on the door than a plain deadbolt, so check that your door and frame are solid before you commit. A hollow-core door with a sagging hinge is a bad host for any smart lock, let alone one with a camera.
Anyone who wants the lock and the doorbell to be one decision, on a door they plan to keep for years, should look here first.
The install order that actually works
This is the part people get wrong, and it's almost never the drilling. It's the order of operations. Follow these steps in sequence.
Step one: Measure before you buy anything. Backset is the distance from the door edge to the center of the deadbolt hole. It's either 2-3/8 inches or 2-3/4 inches, and most locks ship with both options. Check your door thickness too, and note whether the existing deadbolt sits above or below the handle.
Step two: Charge the battery and update the app before you touch the door. Install the app, create the account, and let it update while you're still inside with good WiFi. Doing this on the porch, on a weak signal, is how installs turn into two-hour projects.
Step three: Pair the lock to the app first. Then add the gateway. This is the mistake that costs people a factory reset. The lock pairs over Bluetooth. The gateway bridges that lock to your WiFi. If you add the gateway to the app before the lock exists in the app, the gateway has nothing to bridge. Backwards means a factory reset, and a factory reset wipes every code you've set. I've done it twice in one month, so I say this from experience, not from the manual.
Step four: Fit the deadbolt and check the throw. Slide the bolt into the cross bore, screw the faceplate down, and close the door. Look at the bolt in the strike plate. It should sit fully inside the hole with no gap. If the bolt stops short, file the strike plate or adjust the plate position before you mount anything electronic. A lock that doesn't fully throw is a lock that doesn't lock.
Step five: Mount the interior assembly and set the handing. Most locks need to know which side the door hinges on so the motor turns the right direction. The app usually asks. If it doesn't, there's a switch or a calibration routine, and skipping it gives you a lock that whirs and does nothing.
Step six: Add your fingerprint and a backup code. Enroll the same finger twice if the app allows it. Set a code you'll remember, and turn on the anti-peeping option if the lock has one. That's a short string of digits you type before your real code so anyone watching over your shoulder sees random numbers. Cheap locks rarely include it, and it matters more than people think on a street-facing door.
Step seven: Add the gateway, then connect it to your 2.4GHz network. Now that the lock exists in the app, the gateway has something to talk to. Have your WiFi password ready and be patient, because this step is where support calls are born.
Step eight: Turn on auto-lock and test the door closed. Set an auto-lock delay you can live with, usually 30 seconds for a rental and a minute for a home. Then close the door, walk away, and let it lock itself. Test it five times. If it fails once, fix it now instead of finding out from a tenant.
The 2.4GHz problem nobody warns you about
Almost every smart lock and gateway speaks 2.4GHz WiFi only. Not 5GHz. Your router probably broadcasts both bands under one name, and if it does, most devices figure it out. Some don't.
If your gateway refuses to connect and your phone is on the same network, this is the first thing to check. Log into your router, confirm the 2.4GHz band is on and broadcasting, and if the network name is hidden, unhide it during setup. If your router splits the bands into two names, connect the gateway to the 2.4GHz one.
The box says "WiFi" in large letters. The 2.4GHz requirement lives in the fine print, and it's the single most common reason a perfectly good lock appears broken.
What to check the first night
Do these before you call the install finished.
- Deadbolt throw with the door closed. Bolt fully seated in the strike plate. Every time.
- A night vision clip at 11 p.m. Walk up to the door in the dark and see whether the camera identifies you as a person or as a smudge. If it's a smudge, adjust the angle or add light.
- Field of view from the porch. Stand where a delivery driver stands. Can you see the package on the step and the person's face at the same time?
- Auto-lock, five times, door closed.
- One guest code, created and then deleted. Learn the flow before a guest is standing on the step.
- Battery drain over the first week. A lock on a busy door drains differently than one on a door nobody uses. Log it.
Mistakes I see on almost every install
The first is buying before measuring. The second is pairing the gateway before the lock. The third is trusting the fingerprint reader as the only way in. The fourth is skipping the deadbolt throw check because the door felt fine when you closed it with your hand.
The fifth is buying a lock that needs a monthly subscription for basic remote access. Paying a fee to open your own door is the worst deal in this category. If a lock only lets you check the door from work with a paid plan, that cost belongs in your math before you buy, not after.
The sixth is forgetting the small parts. I've sent people to the hardware store for a deadbolt cover plate that should have been in the box more times than I can count. Open the box, lay everything out, and count it against the parts list before you start.
What this actually costs you
The purchase price is the beginning, not the total. Add these up per door.
Batteries. A smart lock on a front door with a camera eats power, and you'll replace batteries on a schedule, not on a whim. Keep spares in the house.
Subscription, or the lack of it. Local storage and app-based access without a monthly fee is what most people actually want. Check before you buy, because a cloud plan can quietly outrun the hardware cost over two years.
Your time on the first install, which is longer than the second one. After the first lock, the second door takes half as long, and the gateway pairing stops being scary.
The rekey you don't have to do. If you're a landlord or a host, this is where the money comes back. Codes replace keys, and keys replace locksmiths, and locksmiths are not cheap at 7 a.m.
For a rental or a first smart lock, the DEVO G1 covers the lock, the code management, and the camera in one unit. For a primary home entrance where the camera matters as much as the deadbolt, the Lockly Vision is the one I'd buy once and keep.
Either way, do the steps in order. Pair the lock first, gateway second, and check that bolt throw with the door closed. That's the whole job, and it's the difference between a lock that works every day for years and a lock that ends up in a drawer.