Most smart lock and doorbell setup jobs fail in the same five minutes. You open the app, tap add device, and nothing shows up. You tap it again. Nothing. Twenty minutes later you are reading a foldout manual that buries the one sentence that matters on page 14.
I have installed over 300 smart locks and doorbells on real doors around Columbus, and I can tell you the hardware is almost never the problem. The order is. Pair the lock to the app before you touch the gateway. Mount the doorbell where the camera can actually see the porch, not where the old button was. And test the deadbolt throw with your own hand before you ever set a code.
This is the sequence I use, on the two devices I would put on my own front door today.
Why you should trust me
I spent five years as a working locksmith before smart locks were anything but a novelty. I rekeyed deadbolts for landlords, drilled out seized cylinders at 7 a.m., and cut keys for tenants who lost theirs again. Around 2021 the calls changed. Landlords wanted codes instead of keys so they could stop driving across town for a handoff.
I bought my first smart lock on Amazon for my own Airbnb, and that install broke something loose. Since then I have put in more than 300 locks and doorbells for landlords, hosts, and rental properties. I read the manual cover to cover. I still get stuck on gateway pairing. I spend an hour on support chat so you do not have to.
I keep a spreadsheet on every unit I touch: pairing failures, fingerprint misses, battery drops. My rule is simple. A lock's job is to let the right people in and keep everyone else out, and every smart feature is decoration until the deadbolt actually throws.
How I picked and how I tested
The two devices below are the ones I would install on a normal front door with a normal 2.4GHz network and no wiring in the wall. Both keep showing up in my rental work for the same reason: they solve the whole door in one box instead of three.
Every unit gets a full install on a real door, not a bench. That means drilling, mounting, checking the deadbolt throw into the strike plate, pairing to the app, then adding any hub or chime. I watch for first-try pairing success, how a fingerprint reader behaves with wet hands and worn fingertips, and how a camera looks at 11 p.m. on a porch with one dim bulb.
What I care about most: can I install this in about 20 minutes without calling support, does it pair on the first try in the right order, and does it still work at month seven. That is the test.
The lock comes first
Buy the deadbolt before the doorbell. The lock is the security, the doorbell is the record. If you can only do one this month, do the lock.
Two things matter more than any spec sheet. First, deadbolt throw. After you mount the lock, close the door and watch the bolt extend. If it does not fully seat into the strike plate, the door looks locked and opens with a credit card. Second, a keypad backup. Fingerprint readers are wonderful for about six months. Then the reader starts missing on wet hands, cold hands, and worn fingertips. With no keypad to fall back on, you have locked out your own guests.
Auto-lock is the feature nobody advertises and everybody needs. On a rental it ends the "the tenant forgot to lock up" phone call forever.
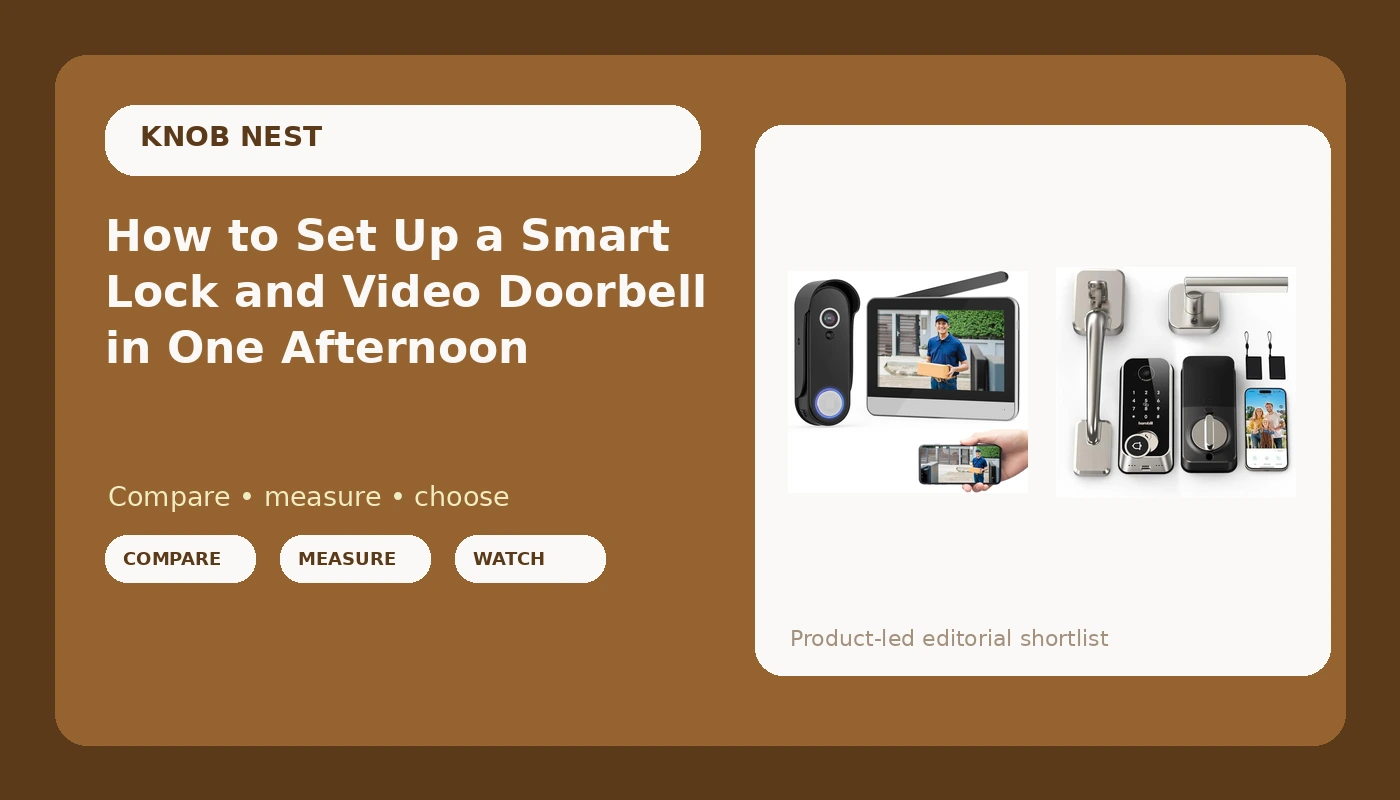
Our pick: Smart Front Door Lock Sets: 2K HD Camera Lock with Doorbell Kits, Hornbill Fingerprint Keyless Entry Door Lock with Handles, WiFi Deadbolt(only 2.4G) for Remote Control, Free APP/Alexa/PIR, Black
 Visit on Amazon →
This is a full set: handles, deadbolt, keypad, fingerprint reader, and a camera built into the lock body, plus the app and Alexa control. The camera in the lock is the part that changes the job. Instead of hanging a separate camera over the door, the lock itself sees who is standing there when the code gets entered.
The 2.4GHz-only WiFi is the detail that matters most, and it is printed right in the name, which is more honesty than most brands give you. If your router runs one network name with both bands merged and your phone keeps hopping to 5GHz during setup, the app will never find the lock. Split the bands in your router settings before you start, or you will spend your evening blaming the hardware.
Install is a standard deadbolt swap on a door that already has a deadbolt hole. Bring your own screwdriver and a tape measure, check the throw, then pair.
Flaws but not dealbreakers: A lock with a camera and a fingerprint reader asks more of your battery and your WiFi than a plain keypad lock, and if your front door takes direct afternoon sun, expect to check the battery more often. The 2.4GHz-only radio also means your mesh network has to be set up properly. That is a setup problem, not a hardware problem, but it is a real one.
Anyone replacing a front door handle and deadbolt on a rental or a primary home, who wants the camera and the lock in one unit, should start here.
Then the doorbell
Field of view beats resolution. A 1080p doorbell that sees the whole porch beats a 2K doorbell aimed at the package thief's hat. Before you mount anything, stand where the doorbell will go and look through your phone. If you cannot see the step, the walkway, and the street edge, move it.
Night vision is the test that actually matters. Porch pirates do not rob you at noon. A doorbell that cannot identify a face under a porch light at 11 p.m. is just a doorbell.
Read the fine print on storage, too. A subscription-free doorbell that keeps clips locally is the answer for most people, because a cloud plan quietly costs more than the doorbell itself after a couple of years. Paying monthly to see your own porch is the worst deal in smart home.
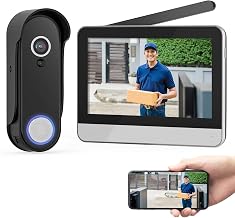
Also consider: Wireless Smart Video Doorbell System, 7" Touchscreen Display, 1080P Video Doorbell Camera with Motion Detection, 2-Way Audio, Local Storage No Subscription, Easy Install Without Wiring
 Visit on Amazon →
This one is the renter's answer. No wiring, no transformer hunting, no doorbell chime to replace. It pairs with a 7-inch touchscreen display that lives inside the house, and it stores clips locally with no subscription, which is the single most important line in the listing.
The touchscreen is the part people underestimate. When a guest rings, you get a screen instead of a phone notification you will swipe away. Two-way audio is there if you want it, and honestly it is the feature everyone thinks they need and almost nobody uses past week two. Do not pay extra for it elsewhere.
Flaws but not dealbreakers: It is 1080p, not 2K. On a porch with decent light and a good mounting angle, that is plenty to identify a face. If your walkway is 40 feet long and unlit, no resolution will save you, and you should be shopping for lighting instead.
Anyone in an apartment, a rental, or a house with no doorbell wiring should look at this before anything that needs an electrician.
The actual setup order, step by step
Now the part that saves your evening. This order works on both devices above and on almost anything else in the category.
Step one: check your WiFi band. Log into your router and confirm you have a 2.4GHz network with its own name. Most smart locks and doorbell systems speak only 2.4GHz. If your router broadcasts one merged network, split it or create a guest network on 2.4GHz just for these devices. Do this before you open a single app.
Step two: install the lock hardware. Pull the old deadbolt and handle. Mount the new one, hand-tighten, then check that the bolt moves freely by hand with the door open. Do not set any codes yet.
Step three: check the deadbolt throw. Close the door and watch the bolt extend into the strike plate. It should seat fully with no wiggle when you push the door. If it does not, adjust the strike plate before you go further. This is the step that separates a secure door from a locked-looking one.
Step four: pair the lock to the app first. Power the lock, open the app, and add the lock. Not the gateway. Not the chime. The lock. If the app tries to make you add a hub first, back out and add the lock anyway. Pairing order is where cheap locks die.
Step five: add the gateway or chime second. Once the lock shows up and responds in the app, add the gateway. If you did this backwards, factory reset and start over. I have done it twice this month.
Step six: set auto-lock, codes, and an anti-peeping PIN. Turn auto-lock on with a delay short enough to be useful. Create a separate code for each person who needs one, so you can delete one code instead of rekeying a building. If the lock supports an anti-peeping PIN, use it, because someone watching over a shoulder is a real risk at a rental.
Step seven: mount the doorbell and check the view. Hold the bracket where you plan to mount it, check the live view, then commit. Aim for the step, the walkway, and the street edge.
Step eight: test at night. Wait until dark and walk up to the door. Look at the clip. If you cannot tell it is you, move the camera or add light.
Step nine: test voice control. If you are using Alexa, pair it and actually test a lock and unlock by voice. A "works with Alexa" claim means nothing until you have done it once.
Where these setups fail
Almost every failure I get called about is one of five things.
The 2.4GHz requirement is hidden in the fine print while the box screams WiFi. Split the band before you start.
The pairing order is backwards. App first, then gateway. Backwards means a factory reset, and a factory reset wipes every code you set.
The deadbolt does not fully throw. Check it with your hand after every install, not just the first one.
The fingerprint reader degrades. It works perfectly at month one and starts missing at month seven on wet or worn fingers. That is why a keypad backup is not optional.
The manual skips the setup order entirely. "Instructions could be much better" is the most common review line in this category, and it is always true. Read the app prompts instead of the paper.
What this all costs you
The lock set is a full hardware kit: handles, deadbolt, keypad, fingerprint, camera. The doorbell is a wireless camera, an indoor touchscreen, and local storage with no subscription. Check current Amazon price on both, because these move.
The real math is not the sticker. It is the subscription. A doorbell that stores clips locally costs you nothing after purchase. A cloud plan keeps billing you for the life of the device, and after two years it can pass what you paid for the hardware. If a lock ever asks for a monthly fee to open your own door remotely, walk away. That is the worst deal in the category.
Then there is time. A lock swap on an existing deadbolt hole is a 20-minute job. A doorbell with no wiring is shorter than that. The pairing order is what stretches either one into an evening, and now you know the order.
Set the codes, check the throw, walk out at night and look at the clip. If it looks like your porch and not a blur, you are done.