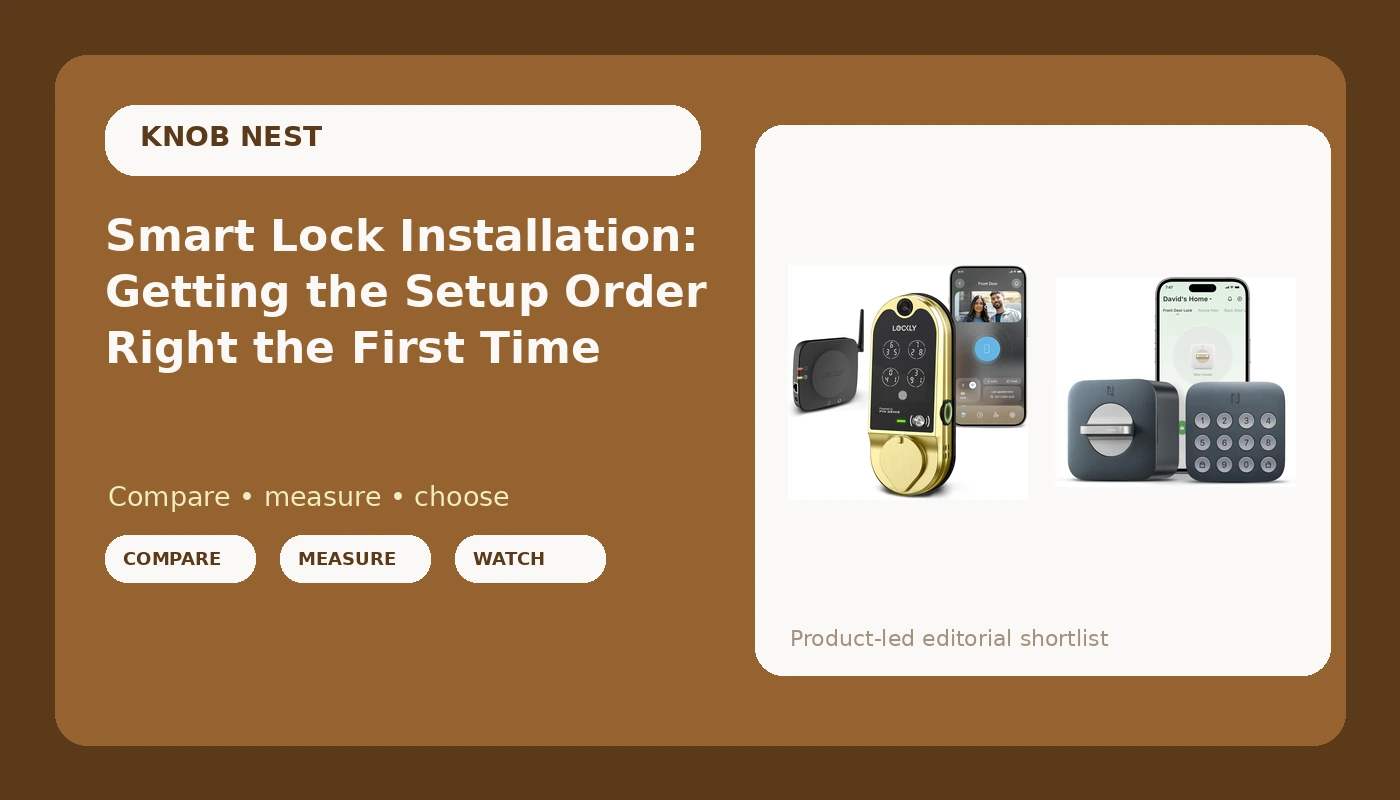
Most smart lock installation failures happen before you touch a screwdriver. I have had my hands on more than 300 locks and doorbells around Columbus, and the pattern never changes. The bolt does not throw all the way. The app gets paired in the wrong order. The lock is trying to talk to a 5GHz network that will never answer it.
Three mistakes, same three mistakes, whether it is a cheap keypad deadbolt or a lock with a camera built into the handle.
This guide is the sequence I run on every door, from a long-term rental on the east side to an Airbnb that turns over every weekend. It covers the lock, the keypad, the app, the auto-lock delay, and the deadbolt check almost everyone skips. Follow it in order and smart lock installation takes about 25 minutes, and you never open the manual a second time.
Why you should trust me
I spent five years as a working locksmith before I ever sold anyone a smart lock. Rekeying deadbolts for landlords, drilling out seized cylinders at 7 a.m. with a coffee going cold on the porch, cutting keys for tenants who lost theirs again. The calls started changing around 2021, when landlords asked if I could "just make the door open with a code" so they could stop driving across town to hand over a key.
Now I install smart locks and doorbells for landlords, Airbnb hosts, and rental properties, and I run my own two doors on the same gear I recommend here. I read manuals cover to cover. I have spent an hour on support chat over a gateway that would not pair. I have factory reset a lock I installed myself, twice in one month, because I did the order wrong. When a lock is bad, I say so, and when a cheap one is fine, I say that too.
How I picked and how I tested
These are not spec sheet picks. I run a 90-day turnover test on locks across three Airbnbs and two long-term rentals, logging every pairing failure, keypad miss, and battery drop in a spreadsheet that decides what I keep recommending. Both locks below went on real doors, in real weather, with real guests punching in real codes.
The criteria I actually judge by:
- Can I install it on a real door in under 25 minutes without calling support?
- Does it pair on the first try on a normal 2.4GHz network, in the right order?
- Does it have a keypad backup when a fingerprint reader or a camera feature starts acting up?
- Does auto-lock work on a delay that makes sense for a rental?
- Does basic remote access require a subscription? If it does, that is a strike.
The number I trust most is deadbolt throw. One full inch into the strike plate. If the bolt does not get there, nothing else on the lock matters.
What you need before you start
A Phillips #2 screwdriver, a tape measure, your WiFi password, and your phone. Before you order anything, measure the backset on your existing deadbolt, the distance from the edge of the door to the center of the hole. It will be 2-3/8 or 2-3/4 inches, and most locks ship with both adapters in the box.
Then check two things on your router and your door. Your router needs a 2.4GHz band the lock can see. And your door needs to close square, because a smart lock amplifies a misaligned door instead of fixing it.
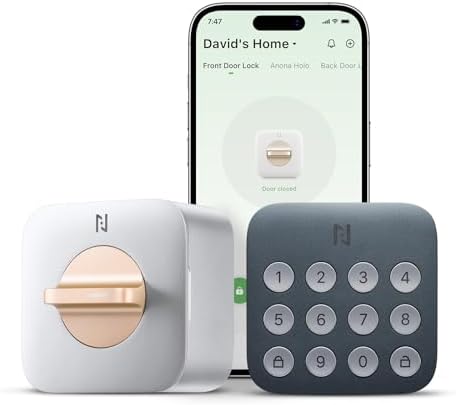
Budget pick: Anona Holo Wi-Fi Smart Lock with Keypad, Keyless Entry Deadbolt Door Lock with App Remote Control, AutoLock & Anomaly Detection, Non-Destructive Installation, Supports Alexa, Apple Home
 Visit on Amazon →
This is the one I put on doors where the budget is real and the landlord still wants codes instead of keys. The non-destructive installation claim matters, because it means the lock reuses your existing bore holes and you are not drilling anything new. Keypad entry, keyless entry, app remote control, auto-lock, and anomaly detection are all here, plus Alexa and Apple Home support. Check current Amazon price before you commit, since this tier moves around a lot.
Flaws but not dealbreakers: There is no camera and no doorbell here. If you want to see who is at the door, this is not that product. It is a deadbolt with a keypad and an app, and it does that job well. Anyone renting an apartment or running a small rental who needs codes and auto-lock without a subscription should start here.
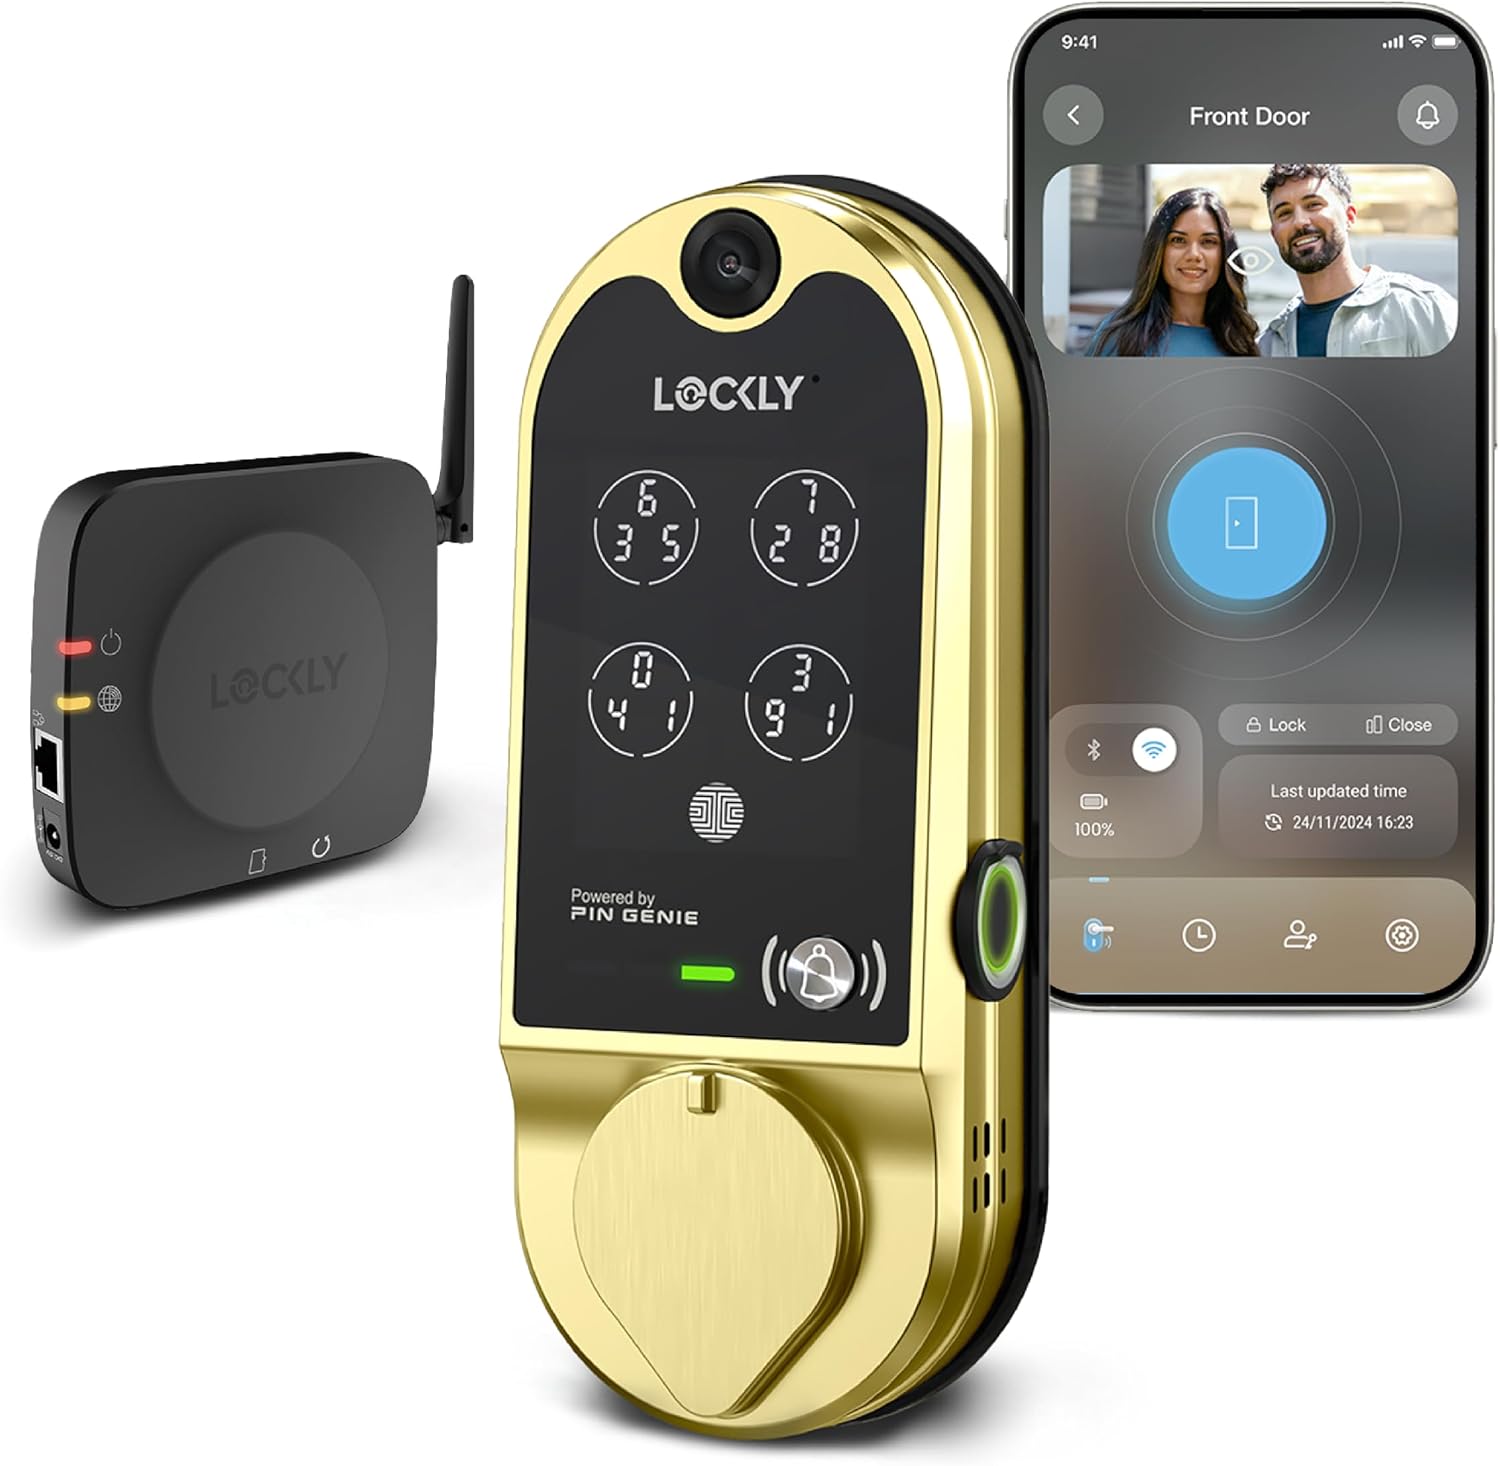
Our pick: Lockly Vision Smart Lock with HD Video Doorbell
 Visit on Amazon →
This is the one I reach for when someone wants the lock and the doorbell handled in a single install. The HD video doorbell is built into the lock, which means one install instead of two, one app instead of two, and no separate doorbell wiring to figure out on a Friday night. Check current Amazon price, because at this tier the difference between a good week and a bad week is real money.
Flaws but not dealbreakers: It is a heavier unit with more to mount, so give yourself the full 25 minutes and a second set of hands for the interior half. And if you rent, this is a conversation with your landlord first, because it is a full deadbolt replacement, not a retrofit sleeve. Anyone who wants porch visibility and keypad entry on the same door, and who is willing to do one careful install, should look here first.
The install, step by step
This is the order. Do not skip ahead to the app.
Step one: measure and confirm. Backset, door thickness, and whether the existing holes line up with the new lock's plate. If the door has an old mortise or an odd bore, stop now and figure out the adapter situation before you take anything apart.
Step two: kill the old deadbolt. Remove the interior half first, then the exterior. Keep the screws in a cup, because they will roll under the door.
Step three: check the frame and the strike. This is the step people skip. Look at the strike plate on the jamb. If it is chewed up, replace it now. A new lock on a chewed strike plate will half-throw and you will blame the lock.
Step four: mount the exterior half. Feed the cable through the bore carefully. Pinching that cable is the number one way to kill a lock on install day.
Step five: mount the interior plate. Do not fully tighten yet. Hand tight, test, then snug it down.
Step six: batteries in, cover on. Use fresh batteries from the same pack. Mixed old and new batteries are how you get a low battery warning in week two.
Step seven: test the bolt by hand, before the app. Turn the thumb turn. Watch the bolt extend. It should reach a full inch into the strike plate and the door should not wiggle when you push it. If it does not, fix the alignment now. The app cannot fix a mechanical problem.
Step eight: app, then codes, then auto-lock. Only now do you open the phone app. Pair the lock, set your own admin code first, then guest codes, then turn on auto-lock with a delay you can live with.
Pairing order: app first, gateway second
If your lock came with a gateway, that little hub that bridges the lock's Bluetooth to your WiFi so you can check the door from anywhere, the order is not optional. Pair the lock to the app first. Confirm it responds. Then add the gateway.
Do it backwards and you are heading for a factory reset, which wipes every code you already set. I have done that twice in one month on the same door, and both times it was because I got impatient and added the hub before the lock.
Two more things that eat an evening:
- The 2.4GHz band. Most locks and gateways only speak 2.4GHz. If your router broadcasts 5GHz only, or it splits both bands under one network name, setup will stall at the last step and the manual will not explain why.
- Pairing mode. On a lot of locks this is a hidden button combination you have to hold for a few seconds. If your phone cannot find the lock, you are probably not in pairing mode, not standing in the wrong place.
Testing the deadbolt throw and the auto-lock delay
Once the lock is paired, run three checks before you hand a code to anybody.
The credit card test. With the door locked, try to slip a credit card between the door and the frame at the bolt. If it slides past the bolt, the bolt is not fully thrown. Fix the strike plate alignment.
The push test. Lock the door and push it with your shoulder. Any movement means the bolt is not seated.
The auto-lock delay. Set it somewhere between 30 seconds and a couple of minutes. Too short and the door locks while you are carrying groceries. Too long and it might as well not exist. On a rental, auto-lock is the feature that ends the "the tenant forgot to lock up" phone call forever.
If the lock has an anti-peeping PIN feature, turn it on. It lets you type random digits before your real code so anyone watching over your shoulder sees nothing useful. Cheap locks rarely include it, and it matters more than people think on a shared hallway.
Where cheap locks actually fail
I am honest about what cheap costs, because I have seen the losing tickets in person. A fingerprint reader that works great at month one means nothing if it degrades by month seven, especially with wet or worn fingers. Buy a lock with a keypad backup, or you are locking out your own guests.
Watch for missing deadbolt cover plates. I have sent people to the hardware store for parts that should have been in the box.
And beware any lock that wants a monthly fee for basic remote access. Paying a subscription to open your own door is the worst deal in smart home. Neither lock above needs that for the basics.
What this all costs
The honest math is not the sticker, it is the cost per door and the cost of getting it wrong. A budget keypad deadbolt and a lock with a built-in video doorbell sit in different tiers, and the gap between them is roughly the cost of not having to install a separate doorbell and run its wiring.
Then add the hidden line items. A support call costs you an evening. A factory reset costs you every code you set. A locksmith visit to rekey after a tenant moves out costs more than either lock, and it happens every turnover. That is the comparison that actually decides this.
Do the setup order right and you pay once. Do it wrong and you pay in hours.
The short version
- Measure your backset before you order anything.
- Replace a chewed strike plate before the new lock goes on.
- Test the bolt by hand before you open the app.
- Pair the lock to the app first, the gateway second.
- Confirm your router has a 2.4GHz band the lock can see.
- Set auto-lock, then turn on anti-peeping if the lock has it.
- Check the bolt throws a full inch, then push the door.
That is the whole job. The lock is the easy part. The order is what keeps you out of support chat.