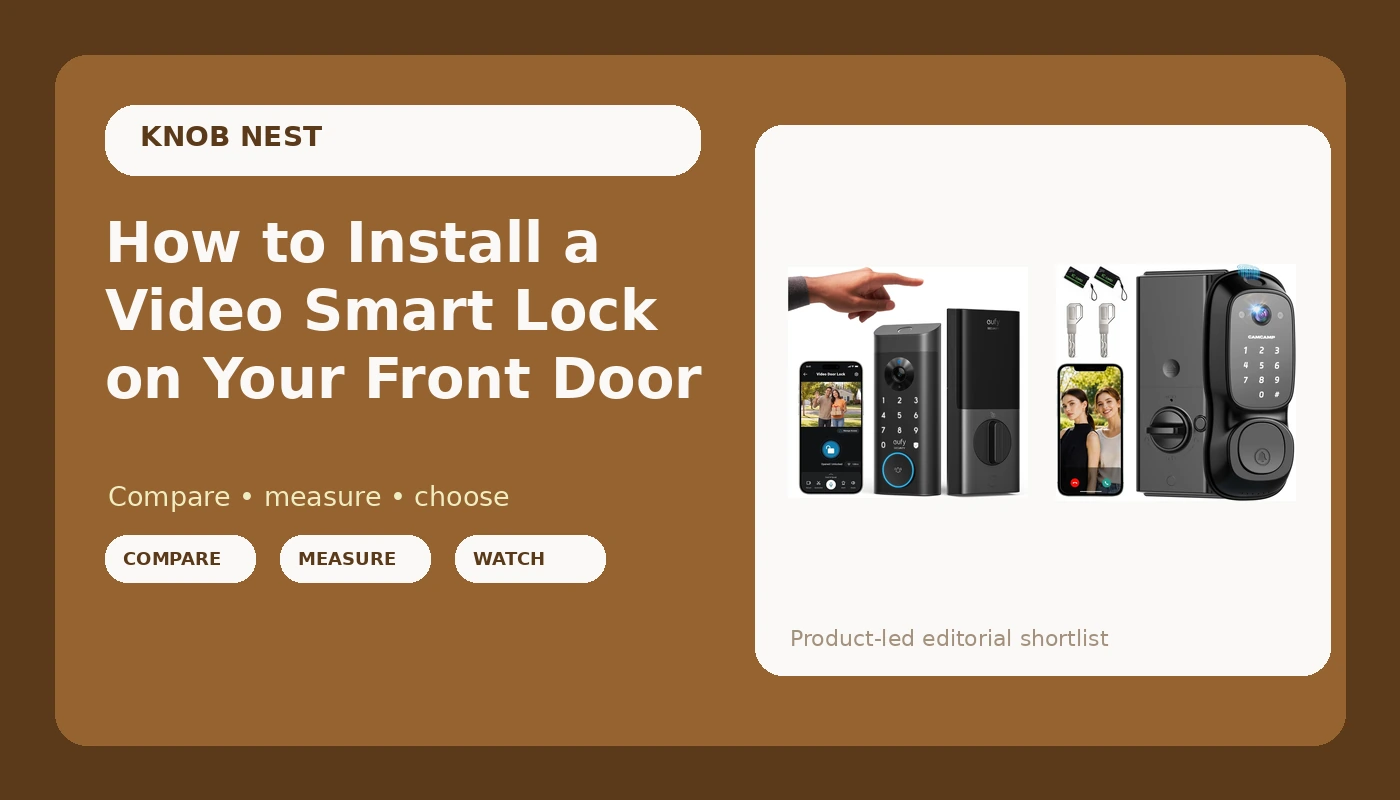
Most video smart lock installation problems are not hardware problems. They are order-of-operations problems. Someone pairs the gateway before the lock. Someone's router broadcasts only on the 5GHz band. Someone mounts the interior assembly and never checks whether the deadbolt actually throws all the way into the strike plate. I have watched each of those three mistakes cost a landlord a full evening, and one of them cost a return.
The good news is that a video smart lock with camera, keypad, and fingerprint reader is a 20 to 30 minute job on a standard front door if you do the steps in the right order. What follows is that order, plus the two locks I would hand to a landlord or an Airbnb host tomorrow.
Why you should trust me
I spent five years as a working locksmith in Columbus, Ohio, rekeying deadbolts for landlords and drilling out seized cylinders at 7 a.m. before anyone else was awake. The calls changed around 2021, when property managers started asking whether a door could just open with a code so they could stop driving across town to hand over a key. I bought my first smart lock for my own Airbnb after hiding a key under a rock one time too many, and I have installed more than 300 locks and doorbells since, two for myself and the rest for rentals around the city.
I am not a sponsored reviewer. I am the person who reads the manual cover to cover, gets stuck on gateway pairing anyway, spends an hour in support chat, and then writes it all down so the next person does not have to learn the setup order the hard way.
How I picked and how I tested
I keep a running spreadsheet on locks and doorbells across three Airbnbs and two long-term rentals, with real guest turnover, real tenant forgetfulness, and a Columbus winter working on the doors. That sheet tracks pairing failures, fingerprint misses, battery drain on doors that actually get used, and how often a guest calls because the app confused them.
For this article I am looking at one job: getting a front door to lock itself, let a guest in with a code, and show you who is standing on the porch. Every lock here has to answer the same four questions. Can I install it on a real door without calling support? Does it pair on a normal 2.4GHz network, in the right order? Does the fingerprint reader still behave at month seven, not just month one? And what does it cost per door when a landlord buys six for a duplex?
One caveat before we start: these are front-door locks for standard residential deadbolt bores. If you rent an apartment and your lease forbids hardware changes, this is not your project, and a battery doorbell is the smarter buy.
Check these four things before you buy
Door thickness and backset. A residential door is usually 1-3/8 or 1-3/4 inches thick, and the backset, the distance from the door edge to the center of the bore hole, is usually either 2-3/8 or 2-3/4 inches. Most smart locks ship with an adjustable latch that covers both, but check before you order, because the wrong backset is the number one reason a lock goes back in the box.
The 2.4GHz band. Almost every smart lock and gateway speaks only 2.4GHz. If your router broadcasts 5GHz only, or your mesh system merges both bands under one name, the lock will never connect and the manual will not tell you why. Log into the router and give the 2.4GHz network its own name first. This takes five minutes and saves a support call.
Door frame clearance. A lock with a camera is deeper than the deadbolt you are replacing, and it needs a clear line of sight down the porch. If you have a storm door that swings within an inch or two of the exterior surface, measure the gap before you commit.
Who needs access. If this is a rental, decide now whether you want auto-lock on a timer, one-time guest codes, or both. That decision determines whether you need a gateway or bridge at all, because remote access and remote code management are what the gateway buys you.
The two locks worth putting on a front door
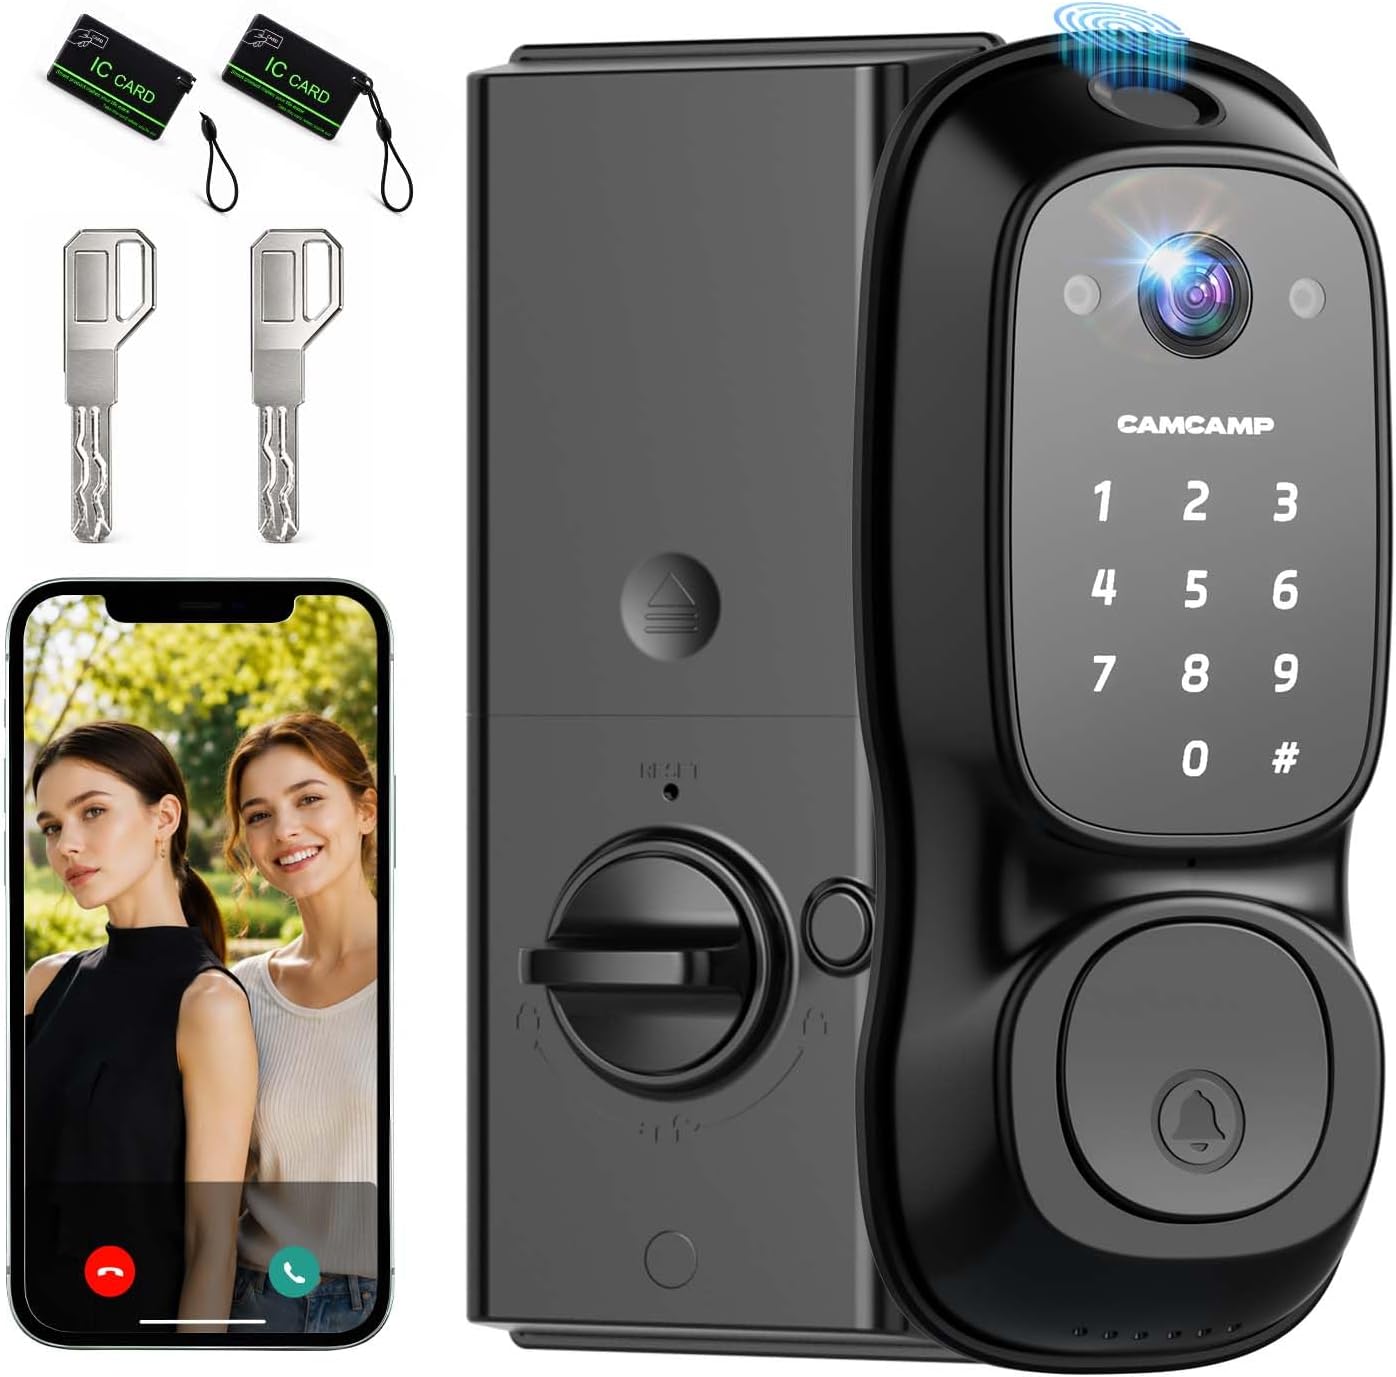
The mid-range pick: Video Smart Lock with Camera, 3-in-1 Smart Deadbolt for Front Door
 Visit on Amazon →
This is the one I point landlords toward first, because it does the three jobs a rental front door actually needs in a single piece of hardware: it replaces the deadbolt, it takes a code or a fingerprint, and it has a camera watching the porch. You are not buying a separate doorbell and hoping the two apps talk to each other.
For an Airbnb or a long-term rental, that combination is the whole point. A tenant gets a code instead of a key, a guest gets a code that expires, and you get a clip of whoever showed up at the door. There is nothing to rekey when someone moves out, which is the single biggest labor saving in property management.
The thing to check on any 3-in-1 deadbolt is fit. It has to sit flat against your door with the interior assembly lined up over the existing bore, and the tailpiece has to engage the latch without binding. Do a dry fit before you tighten anything down. If the bolt binds when you turn it by hand, the alignment is off, not the lock.
Where it fits best: A front door that currently has a plain deadbolt, a landlord or host who wants code management without a second device on the trim, and anyone who wants the porch covered without running new doorbell wiring.
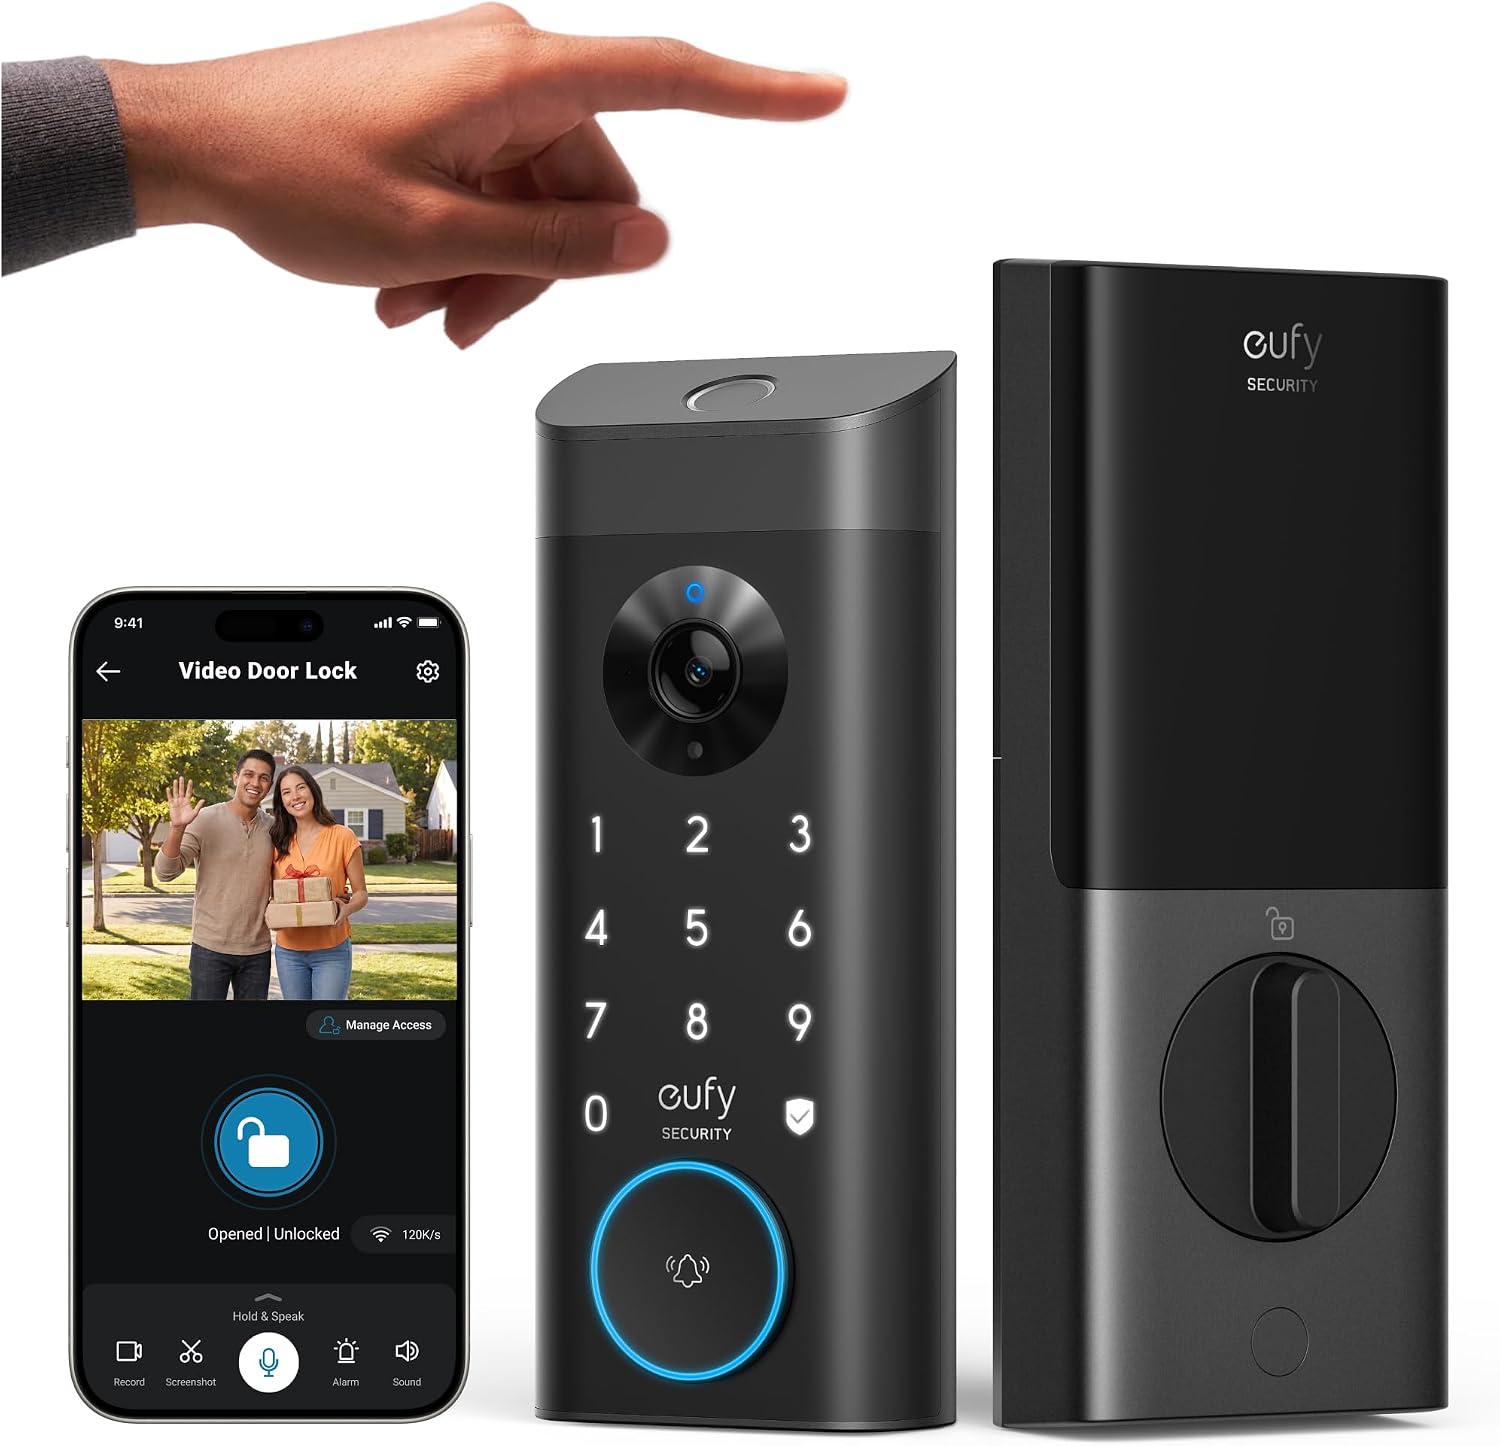
The upgrade pick: eufy Security Video Smart Lock E330, Fingerprint Keyless Entry Door Lock
 Visit on Amazon →
The E330 is the step up, and the reason to pay for it is the fingerprint reader plus the camera in one lock body. Fingerprint entry is genuinely faster than typing a code with an arm full of groceries, and it is the feature guests comment on the most, because it feels like the future arrived on your porch.
Fingerprint locks are also the category I am most skeptical about, so here is my honest rule: never rely on a fingerprint reader alone. The reader that works perfectly in month one can start missing on wet or worn fingers by month seven, and I have seen it happen on locks far more expensive than this one. That is why the keypad backup matters as much as the sensor. The E330 keeps both, so a missed read is an inconvenience instead of a lockout.
If you run this on a rental, treat the fingerprint as a convenience for you and the keypad code as the real access method for everyone else. Register two fingers, not one, and re-register them every few months. That habit is the difference between a fingerprint lock you love and a fingerprint lock you resent.
Where it fits best: A primary residence or a higher-end rental where you want the fastest possible entry, and a host who wants the porch camera and the lock in one app instead of two.
The actual installation workflow
This works on any standard front door with an existing deadbolt. Budget half an hour, plus another twenty minutes for the app and pairing.
Step one: Photograph everything before you touch it. Take a picture of the existing deadbolt on both sides and a picture of the latch inside the door edge. You will want the reference if a screw does not want to go back in.
Step two: Check the bore and the backset. Measure the door thickness and the backset, then confirm the new latch matches. Most latches are adjustable, but you have to actually adjust them, and the manual buries that on a foldout page.
Step three: Remove the old deadbolt. Exterior half first, then the interior plate, then the latch. Drop every screw into a cup. Losing one screw is how a 20 minute job becomes a trip to the hardware store.
Step four: Install the latch. Slide it into the edge bore with the bevel facing the direction the door closes. If the latch is stiff in the bore, do not force it. Widen the bore slightly with a chisel or a round file instead of hammering.
Step five: Mount the exterior assembly. Feed the cable through the bore, keeping the connector dry and away from the edge of the hole so it does not get pinched. Most install failures that look like dead hardware are actually a pinched cable.
Step six: Mount the interior assembly. Connect the cable, align the tailpiece into the latch, and start the screws by hand. Tighten in a cross pattern, and stop when the plate is snug. Over-tightening warps the plate and makes the bolt drag.
Step seven: Test the bolt by hand before you power anything. Turn the thumb turn and watch the bolt. It should extend fully and retract smoothly. If it drags, loosen the screws a quarter turn and try again.
Step eight: Install batteries, then pair the lock to the app over Bluetooth. Do this before anything else. Create the account, add the lock, and let the firmware update finish. Do not skip the firmware step and do not walk away from it.
Step nine: Add the gateway or WiFi bridge last. Once the lock is in the app, add the hub on your 2.4GHz network. If you did this backwards, factory reset the lock and start over. It wipes your codes, but it is faster than fighting it.
Step ten: Set auto-lock and add codes. Set the auto-lock delay to whatever fits the door, usually 30 seconds for a rental. Add your own code, add a fingerprint, then add a test guest code and use it once.
Step eleven: Close the door and check the deadbolt throw. With the door shut, extend the bolt and push on the door. If it moves, the bolt is not reaching the strike plate. Adjust the strike plate until the bolt seats fully. This is the step everyone skips and it is the one that matters most, because a bolt that does not fully throw looks locked and opens with a credit card.
Step twelve: Run the night test. After dark, trigger the camera and look at the clip on your phone. Porch pirates do not work at noon. If the camera is aimed at the ceiling or blowing out on a porch light, adjust it now, not after the first incident.
Pairing order: the mistake that costs you an evening
I will say this as plainly as I can, because it is the most common support call in the category. Pair the lock to the app first. Then add the gateway. If you did it the other way around and the gateway refuses to see the lock, factory reset and start over. There is no clever workaround. The reset is the workaround.
While you are in there, name the lock something you will recognize six months from now, like Front Door or Unit B. When a landlord has six locks in one app, "Smart Lock 3" tells them nothing at 11 p.m. when a tenant calls about a door that will not open.
Testing the deadbolt throw and auto-lock
Two tests decide whether a smart lock is actually doing its job.
The first is the throw test. Door closed, bolt extended, shoulder into the door. If it budges, the bolt is short of the strike plate and the door is not locked, no matter what the app says. Fix the strike plate alignment before you trust the lock.
The second is the auto-lock test. Set the delay, then open the door, stand there, and do nothing. If the lock re-locks itself, you have just eliminated the most common phone call in property management, the one where a tenant swears they locked up and did not. Auto-lock is the single most underrated feature on any smart lock, and it is the reason I put these locks on rentals at all.
The competition and why it lost
August and Schlage come up in every conversation I have with landlords, and they deserve the attention. August is the better retrofit for someone who wants to keep their existing deadbolt and just add smart access on the inside, and Schlage is the better build if you want codes you can hand to a tenant without explaining an app. Neither one of those is a front-door camera lock, though, and that is the job this article is about.
Standalone video doorbells are the other path, and for a lot of renters they are the right one, because a battery doorbell needs no hardware changes and no lease conversation. The tradeoff is two devices, two apps, and two batteries to watch. If you own the door and you want one thing to manage, a lock with a camera in it wins.
What this all costs
Both locks here are in the range where the hardware is solid and the app does what it says. That is the sweet spot for this category. Under that range you are buying a lottery ticket, and I have seen the losing tickets in person.
The real cost math for a landlord is not the lock. It is the rekey you no longer pay for every time a tenant moves out, the drive across town you no longer make to hand over a key, and the door that is actually locked at night because auto-lock handled it. Spread across a couple of years of turnover, the hardware pays for itself in labor alone.
If you want the faster entry and the fingerprint reader, go with the E330. If you want the three jobs done in one piece of hardware at a lower entry point, the 3-in-1 deadbolt is the one I hand to most landlords. Either way, do the install in the order above, test the bolt throw with the door closed, and run the night test on the camera before the first guest arrives. That is the whole job.