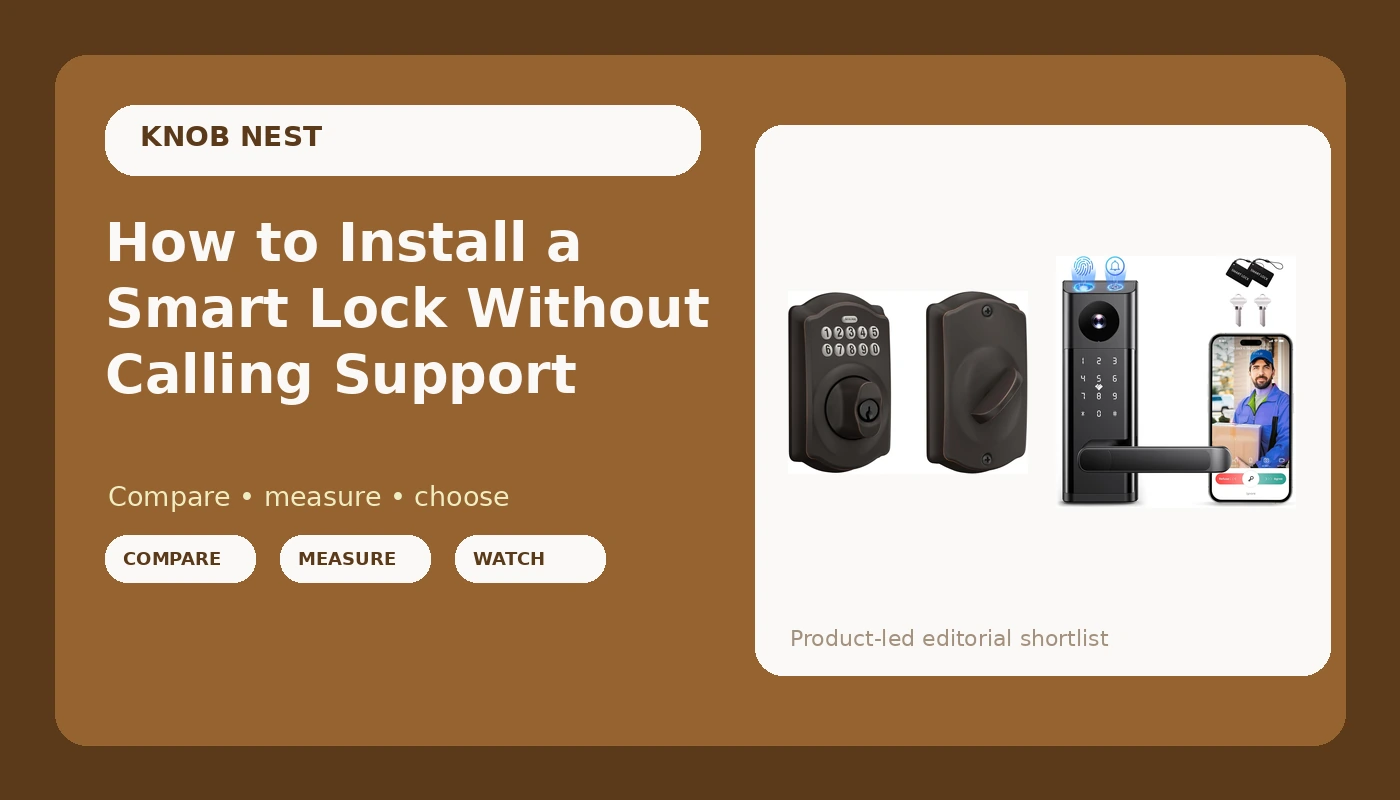
Smart lock installation is a door problem first and a tech problem second. On most of the calls I take, the hardware is fine. The bore is off by a sixteenth of an inch, the strike plate was never deepened, the router is broadcasting one merged network name, and the app got installed after the gateway instead of before it. I have drilled out a hundred seized cylinders at 7 a.m. and rekeyed forty units for a single landlord, and the pattern holds every time: the sequence is what fails, not the lock.
This guide is the sequence. It covers the two locks I currently recommend for a front door, the tools and measurements you need before you open the box, the install order that keeps you out of a factory reset, and the handful of mistakes that turn a twenty minute job into a lost Saturday. If you have never touched a deadbolt before, you can still do this. Bring a screwdriver, a tape measure, and the patience for one support chat you probably will not need.
Why you should trust me
I spent five years as a working locksmith in Columbus, Ohio, rekeying deadbolts for landlords, drilling out seized cylinders, and cutting keys for tenants who lost theirs again. The calls started changing around 2021, when landlords began asking whether I could just make the door open with a code so they could stop driving across town to hand over keys. I bought my first smart lock because I was tired of hiding a key under a rock for Airbnb guests, and that one install broke something loose.
Since then I have installed over 300 smart locks and doorbells: two on my own doors, a dozen for friends, and the rest for landlords, hosts, and rental properties around the city. I am not a sponsored influencer and I am not a tech journalist. I still get stuck on gateway pairing. I still spend an hour on a support chat and then write it all down so the next person does not lose the same evening. I also got burned by one lock whose fingerprint reader died at month seven, so I am honest about what cheap actually costs.
How I picked and how I tested
Right now I am running ten locks and four doorbells through a 90 day rental turnover test: three Airbnbs, two long-term rentals, real guest turnover, real tenant forgetfulness, and a Columbus winter that drops to single digits. Every pairing failure, fingerprint miss, and battery drop goes into the same spreadsheet that decides my picks.
The rules I hold myself to are simple. No lock gets recommended without a full install on a real door, including the gateway pairing order and at least one deliberate factory reset. No fingerprint claim without logging first-try success over 30 days, including how it behaves with wet hands and cold hands. No battery claim without real drain logging on a door that actually gets used. No voice assistant claim without pairing it and testing an actual lock and unlock. If I have not done all of that, I say so instead of guessing.
What you need before you open the box
Two measurements decide whether this job takes twenty minutes or two trips to the hardware store.
Door thickness. Most residential doors are 1 3/8 inches or 1 3/4 inches. Almost every lock ships with hardware for both, but the adapters are in a bag at the bottom of the box and the manual mentions them on the page nobody reads.
Backset. That is the distance from the edge of the door to the center of the deadbolt hole. It is either 2 3/8 inches or 2 3/4 inches. Adjustable latches cover both, but you have to actually turn the collar to the right setting.
Then check your WiFi. Most locks and gateways only speak 2.4GHz. If your router broadcasts one merged network name, or a 5GHz-only name, the lock will never connect and the manual will not tell you why. Log into the router before you start and confirm a 2.4GHz band exists with its own name.
Tools: a number two Phillips screwdriver, a tape measure, a pencil, a chisel and hammer only if the strike plate needs deepening, and your phone with the app installed and an account created. Do that part first. Always.
The two locks I would put on a front door
I keep these two on my own list for different reasons. One is the all-in-one that replaces the whole handle set. The other is the deadbolt that has never once needed me to open an app.
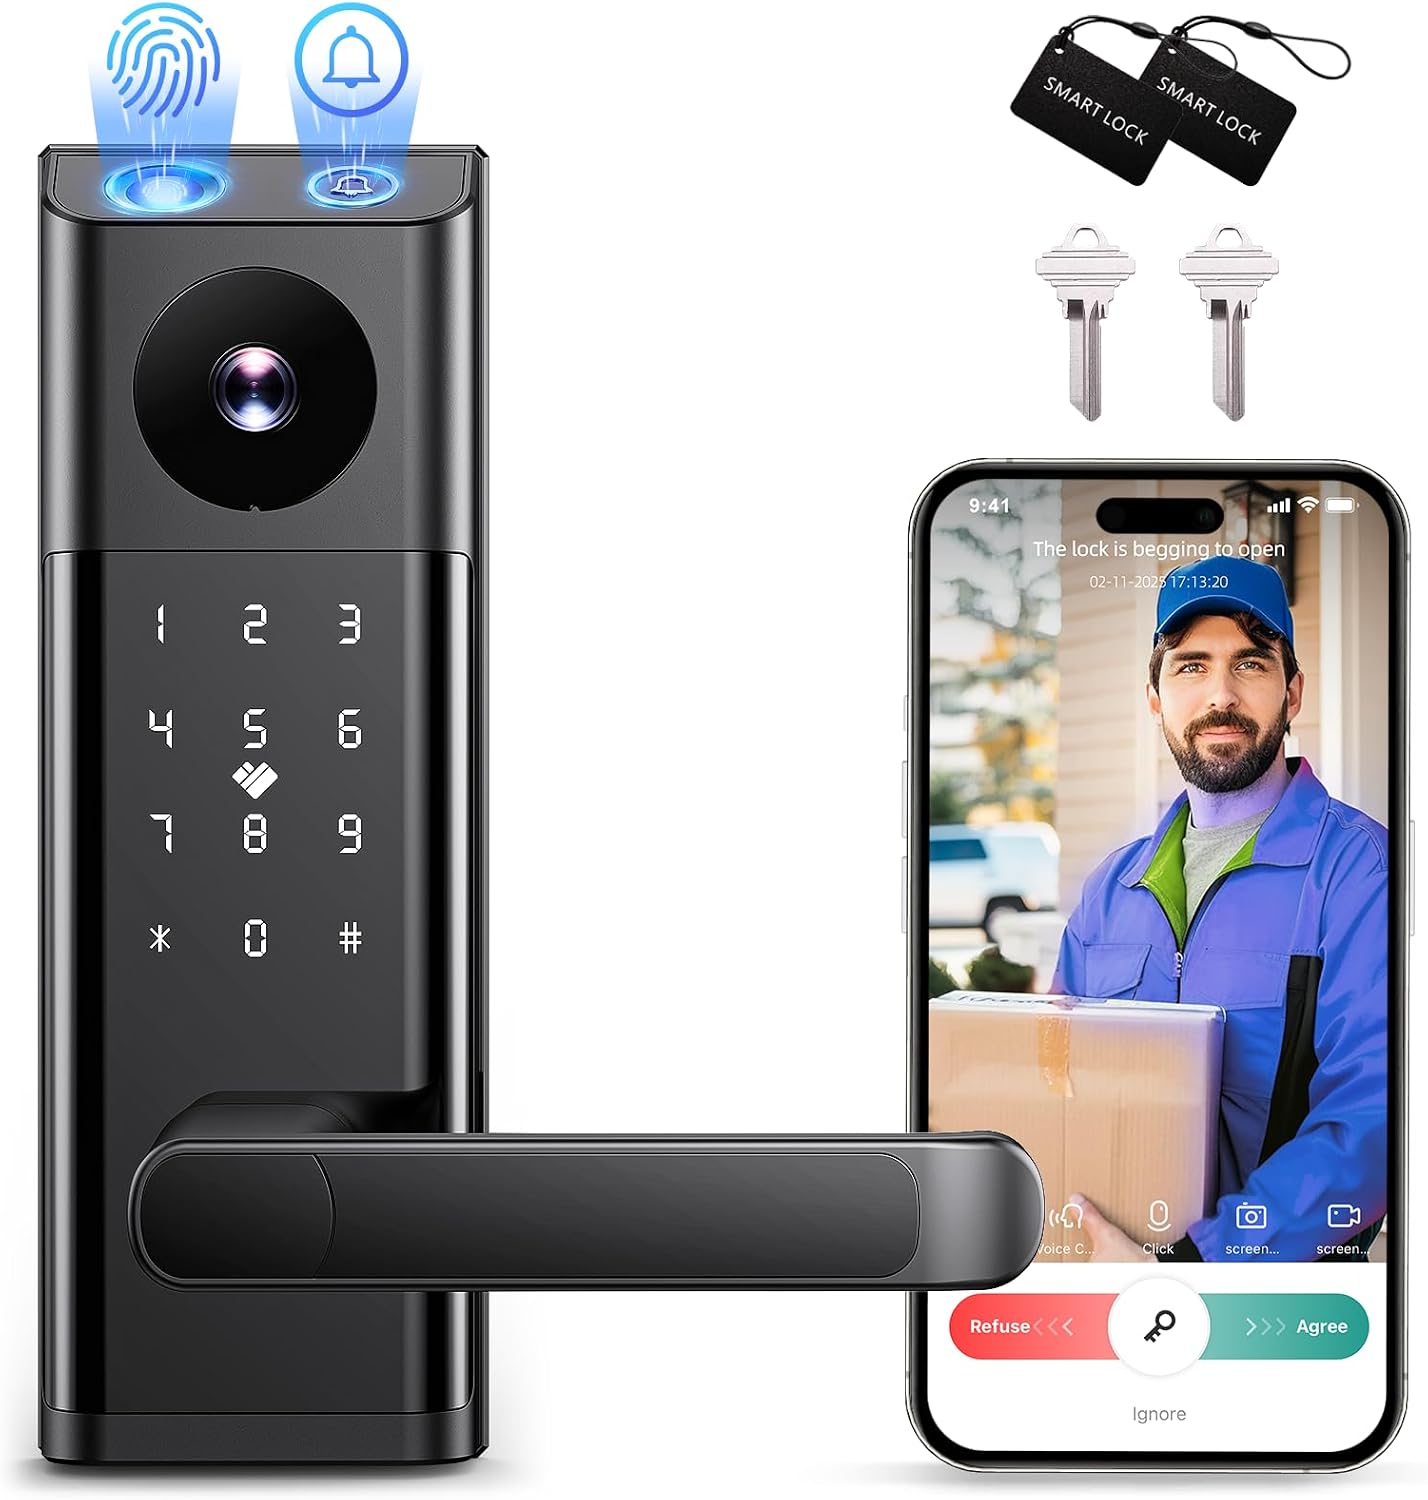
The all-in-one pick: Smart Lock with Camera & Doorbell, 3-in-1 Keyless Entry Door Lock with Handle, Built-in WiFi Camera Smart Lock for Front Door, Fingerprint, Keypad Code, App Control, Auto Lock
 Visit on Amazon →
Check current Amazon price before you commit, because this category moves fast. What you are buying here is consolidation: a handle, a keypad, a fingerprint reader, a camera, and a doorbell in one unit, with app control and auto lock on top. For a front door where you were already planning to buy a doorbell and a lock separately, this replaces two installs and two apps with one.
It is also the harder install of the two locks here, and I want you to know that going in. You are not swapping a deadbolt. You are pulling the old knob and deadbolt and fitting a new handle assembly, which means a bigger cutout, more screws, and less room to be sloppy with the alignment. Measure twice. Feed the cable through the door before you seat the exterior half, not after.
The features that earn their place: the keypad is the part that never quits, the fingerprint reader is the part that is fastest when your hands are full, and auto lock is the part that ends the "did I lock it" question for good. Built-in WiFi means no separate bridge to pair, which removes the single most common failure point in this category. That is a real advantage and it is the reason I put this at the top of the list for a house rather than an apartment.
Flaws but not dealbreakers: An all-in-one means one failure takes everything with it. If the camera module dies, you are replacing a lock, not a doorbell. Fingerprint readers in this price class are excellent at month one and noticeably less excellent by month seven, so enroll a keypad code as your backup on day one and never rely on the finger alone. And this unit needs a 2.4GHz network, same as everything else.
Anyone who wants one device, one app, and a camera watching the porch should start here.
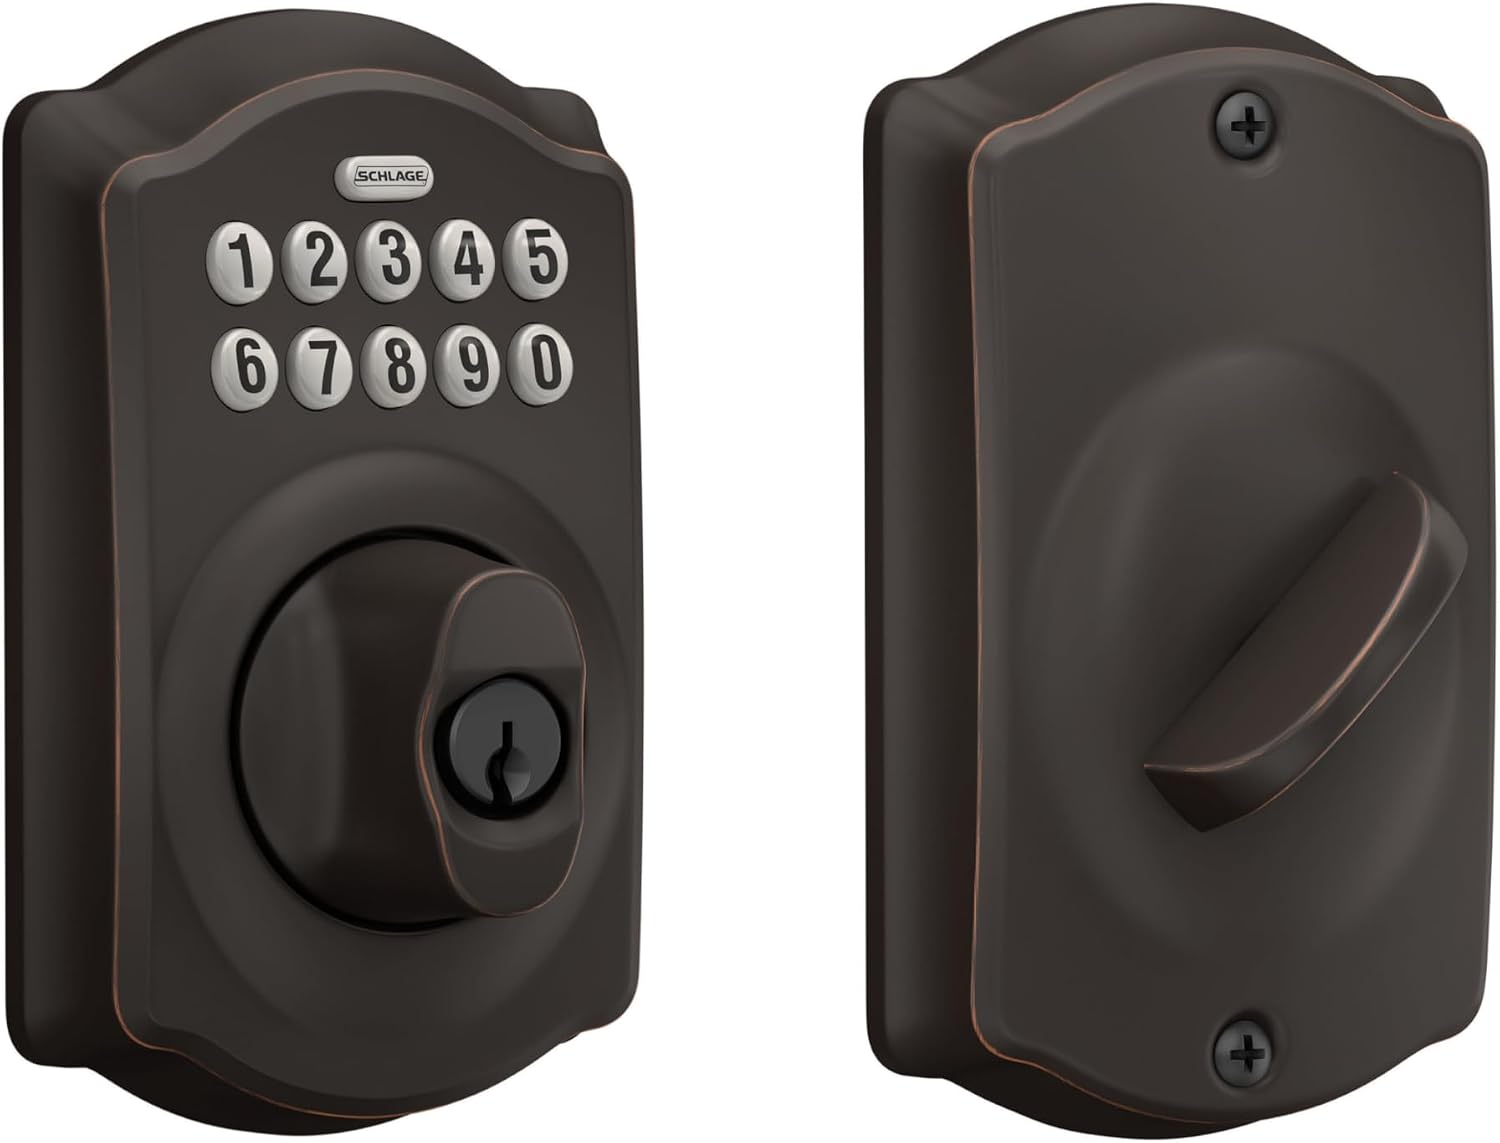
The landlord standard: Schlage Electronic Keypad Deadbolt Lock, Camelot Trim, Aged Bronze
 Visit on Amazon →
Check current Amazon price. This is the lock I hand to a tenant and stop thinking about. It is a keypad deadbolt, nothing more: a code gets you in, a key gets you in, and nobody has to download anything or accept a guest invitation or remember a password to their own front door.
That simplicity is the whole pitch, and it is why Schlage is one of the two brands every landlord asks me about. The Camelot trim and aged bronze finish read as hardware rather than gadget, which matters when you are installing six of these in a duplex building and the owner cares what the hallway looks like. The install is a straight deadbolt swap: two bolts through the door, a cable, and a cover. I have done this style of lock on doors where the old deadbolt had been painted over twice, and the only drama was scraping the paint.
Codes you can hand to a tenant are the feature that matters most here. You set a code, you give it out, you delete it at turnover, and you never drive across town with a key again. If you want to see who came to the door or open it from another state, this is not that lock, and you should be looking at the all-in-one above instead.
Flaws but not dealbreakers: There is no camera and no fingerprint reader here, and no app to check the door from the office. For a rental, that is a feature, not a gap. For a homeowner who wants porch footage, it is a hard no.
Landlords, hosts, and anyone who wants a lock that works without a phone should buy this one.
The setup order that saves you a factory reset
This is the part the manual buries on page 14 of a foldout. Get it wrong and you will be doing a factory reset, which wipes every code you have set. I have done it twice this month.
Step one: confirm the 2.4GHz band exists and has its own name. If you cannot see it, stop here and fix the router first.
Step two: install the app and create the account before you touch the door. Verification emails and password resets are the worst possible thing to do while holding a lock half attached to a door.
Step three: install the hardware. Details below.
Step four: pair the lock to the app while you are standing at the door. Phone within a few feet. Do not wander into the kitchen to "get better signal." Pairing mode on cheap locks is an undocumented button combination, usually a hold on the O and the checkmark, and it times out faster than you think.
Step five: only then add the gateway or bridge, if your lock uses one. Lock to app first, gateway second. Backwards means the gateway never finds the lock, and the fix is a factory reset.
Step six: set your own master code before you hand out a single code to anyone.
Step seven: turn on auto lock. For rentals this is non-negotiable. The tenant who forgot to lock up is the most common phone call in property management, and auto lock ends that call forever.
Step eight: create one test code, use it, then delete it. You are testing that delete actually works. Do not find out at turnover that it does not.
The actual installation workflow
Step one: measure and photograph. Door thickness, backset, and a photo of the old hardware before you pull it. You will want that photo when you are trying to remember which screw went where.
Step two: pull the old hardware and keep every screw. Put them in a cup. The strike plate screws are usually longer than the ones in the new box, and you may want them back.
Step three: check the bore and the cross bore. The deadbolt hole and the handle hole have to line up with the new assembly. If the door was bored for a 2 1/8 inch hole and your new lock wants something different, this is the moment you find out, not after the box is open.
Step four: fit the exterior half. Gasket first, then feed the cable through the door. If you seat the exterior and then realize the cable is on the wrong side, you get to start over.
Step five: mount the interior plate but do not fully tighten it. You need a little movement to line up the bolt with the frame.
Step six: connect the cable and test the bolt by hand before you put batteries in. Turn the thumbturn or the motor by hand. If it binds, something is misaligned and no amount of battery power will fix it.
Step seven: batteries in, then close the door and check the deadbolt throw. This is the step people skip. The bolt has to extend fully into the strike plate. If it only goes halfway, the door looks locked and opens with a credit card. Push the door, watch the bolt, and if it rubs, deepen the strike plate with a chisel a little at a time.
Step eight: pair, set codes, set auto lock. Back to the setup order above. App first, gateway second, master code before guest codes.
The mistakes that cost people a Saturday
Pairing the gateway before the lock is the big one. Running a 5GHz-only network is the second. Testing the deadbolt with the door open is the third, because the door frame is where the problem shows up and an open door tells you nothing. Handing out your master code instead of a guest code is the fourth, and it is the one that costs money instead of time.
One more: fingerprint enrollment. Enroll your finger the way you actually use it, not with a scrubbed dry hand at the kitchen table. If your reader starts failing on wet or worn fingers by month seven, you want a keypad code already set as your way in.
The competition and why it lost
The retrofit locks that keep your existing deadbolt and just replace the inside half are genuinely clever, and for an apartment where you cannot change the exterior hardware, they are often the right answer. They are not what this article is about, because the install is a different job with a different set of failure points.
The cheap no-name keypad locks below the mid range are a lottery ticket. I have seen the losing tickets in person: handles that turn without engaging, gateway pairing that never completes, and apps that look like they were designed in 2014. The hardware is sometimes solid, and the Tuya and Smart Life apps are ugly but functional, but the pairing pain is real and it is almost always a setup-order problem you cannot fix with better instructions that do not exist.
And anything that charges a monthly fee for basic remote access is the worst deal in smart home. Paying a subscription to open your own door is not a feature.
What this all costs
Both locks here sit in the same general range, so the deciding question is not money, it is what you want the door to do. One device with a camera, a fingerprint reader, and app control costs more per door than a keypad deadbolt, and it takes longer to install. A keypad deadbolt costs less per door and installs in the time it takes to drink a coffee, which is why landlords buy them six at a time.
Run the math the way a landlord does. One locksmith call to rekey a unit after a turnover costs more than the difference between these two locks, and it costs it again every single turnover. Six locks on a duplex building pay for themselves the first time you stop driving across town with a key. Check current Amazon price on both before you decide, since prices move, and remember that a lock you cannot install is worth nothing no matter what it costs.
The install is the easy part once the order is right. Measure the door, fix the WiFi band, install the hardware, pair the lock before the gateway, set auto lock, and test the deadbolt throw with the door closed. That is the whole job, and it is a twenty minute job when you do it in that order.