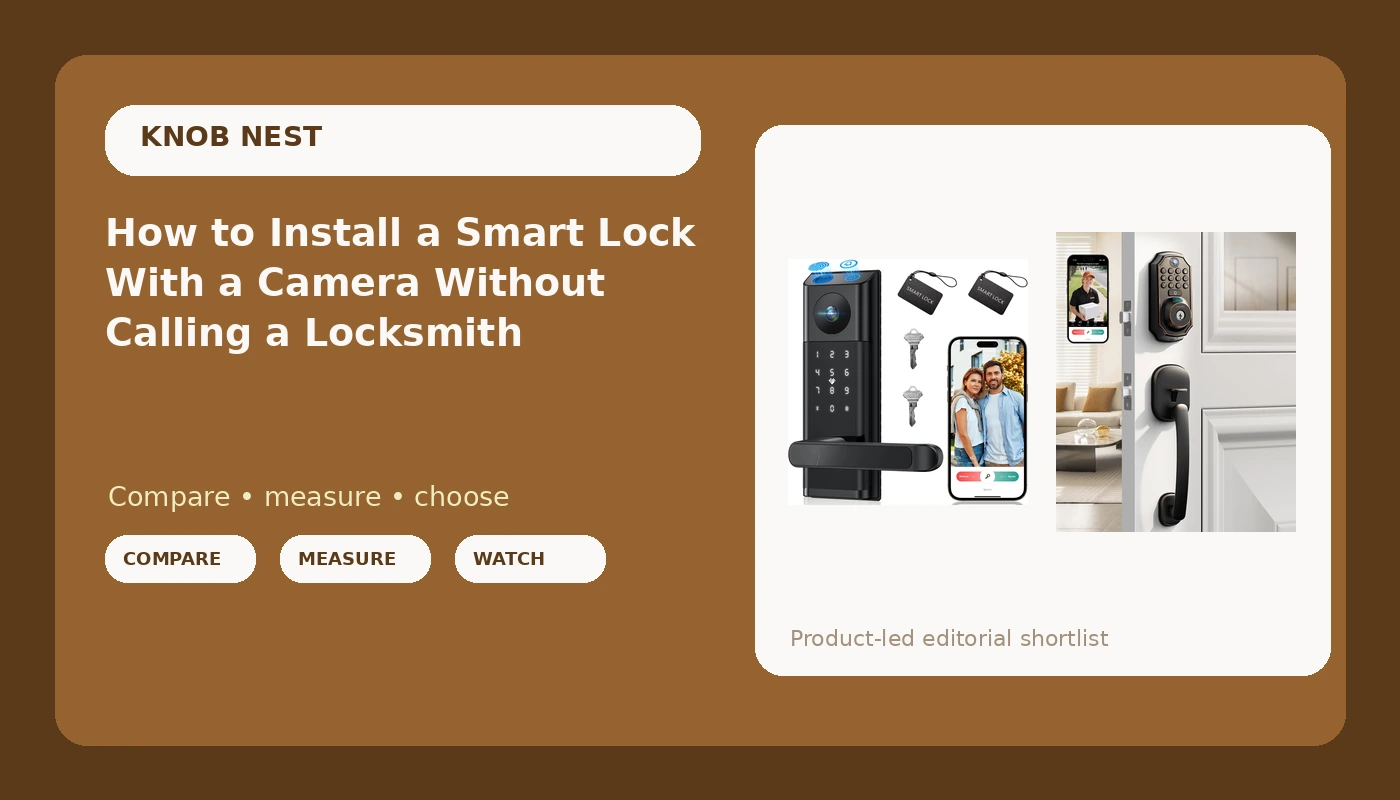
Most people buy a smart lock with camera, tear the box open, and start drilling before they have read a single page of the manual. That order is what costs you an afternoon, a stripped screw, and a support chat at 11 p.m. I have installed more than 300 smart locks and doorbells, most of them for landlords and Airbnb hosts around Columbus, and the honest truth is that the hardware install is the easy part. The part that decides whether you love the lock or hate it happens in the ten minutes before you touch a screwdriver.
This is the order I run on every door: inspect the door, check the network, mount the hardware, pair the app, then test the deadbolt throw with the door open and again with it closed. Skip any of those and you become the person who cannot figure out why the lock will not talk to a phone that is sitting two feet away.
Two locks carry this guide. One replaces your whole handle set and brings the camera and doorbell with it. One swaps onto the deadbolt bore you already have. Both are app-connected camera locks, and neither one requires a locksmith.
Why you should trust me
I spent five years as a working locksmith before smart locks were a real category. That meant rekeying deadbolts for landlords, drilling out seized cylinders at 7 a.m., and cutting keys for tenants who had lost theirs again. The calls changed around 2021, when property managers started asking whether I could just make the door open with a code so they could stop driving across town to hand over a key.
I bought my first smart lock for an Airbnb after I got tired of hiding a key under a rock. That install broke something loose in my head, and I have been installing them ever since, for myself, for friends, and mostly for rental properties. I read the manual cover to cover. I still get stuck on pairing. I have spent an hour on support chat more than once, and I write it all down so the next person does not have to learn the setup order the hard way.
I am not a sponsored reviewer and I am not a tech journalist. I am the guy who shows up with a drill and a rekey kit and has strong opinions about what is actually worth hanging on a front door. I also got burned by one lock whose fingerprint reader died at month seven, which is why I care a lot more about what a lock does in year two than what it does on day one.
What to check before you buy anything
Walk out to your door with a tape measure and a phone before you order. Ten minutes here saves a return.
Door thickness and bore. Measure the door itself and look at the hole the current hardware sits in. Most residential doors fall in a standard range, but older doors and steel doors do not always cooperate. Compare your numbers against the spec sheet on the product page, not against what you remember.
Backset. That is the distance from the edge of the door to the center of the bore hole. It comes in two common sizes. If yours does not match the lock, you are either drilling new holes or returning the box.
Handle set or deadbolt only. This is the decision that picks your product for you. If your door has a separate handle and a separate deadbolt, a lock that includes the handle lets you replace both at once. If you have a nice handle you want to keep, buy a deadbolt-style lock and leave the handle alone.
Your WiFi band. Most smart locks speak 2.4GHz only. If your router is broadcasting 5GHz only, or it splits the two bands into separate network names, the lock will never connect and the manual will not tell you why. Check this before you order, not after.
Whether you rent. Read your lease. If you cannot change the hardware, there are battery-powered options and there are clamp-on solutions, but you need permission before you put a screw in someone else's door.
Deadbolt throw. With the door open, turn the lock and watch the bolt. If it does not extend fully into the frame, the door looks locked and opens with a credit card. This is the single check most people never do, and it is the one that actually matters.
Two locks that fit most front doors
The category is enormous and most of it is noise. These are the two shapes of lock I end up recommending, one for a door that needs a full handle replacement and one for a door that just needs the deadbolt swapped.
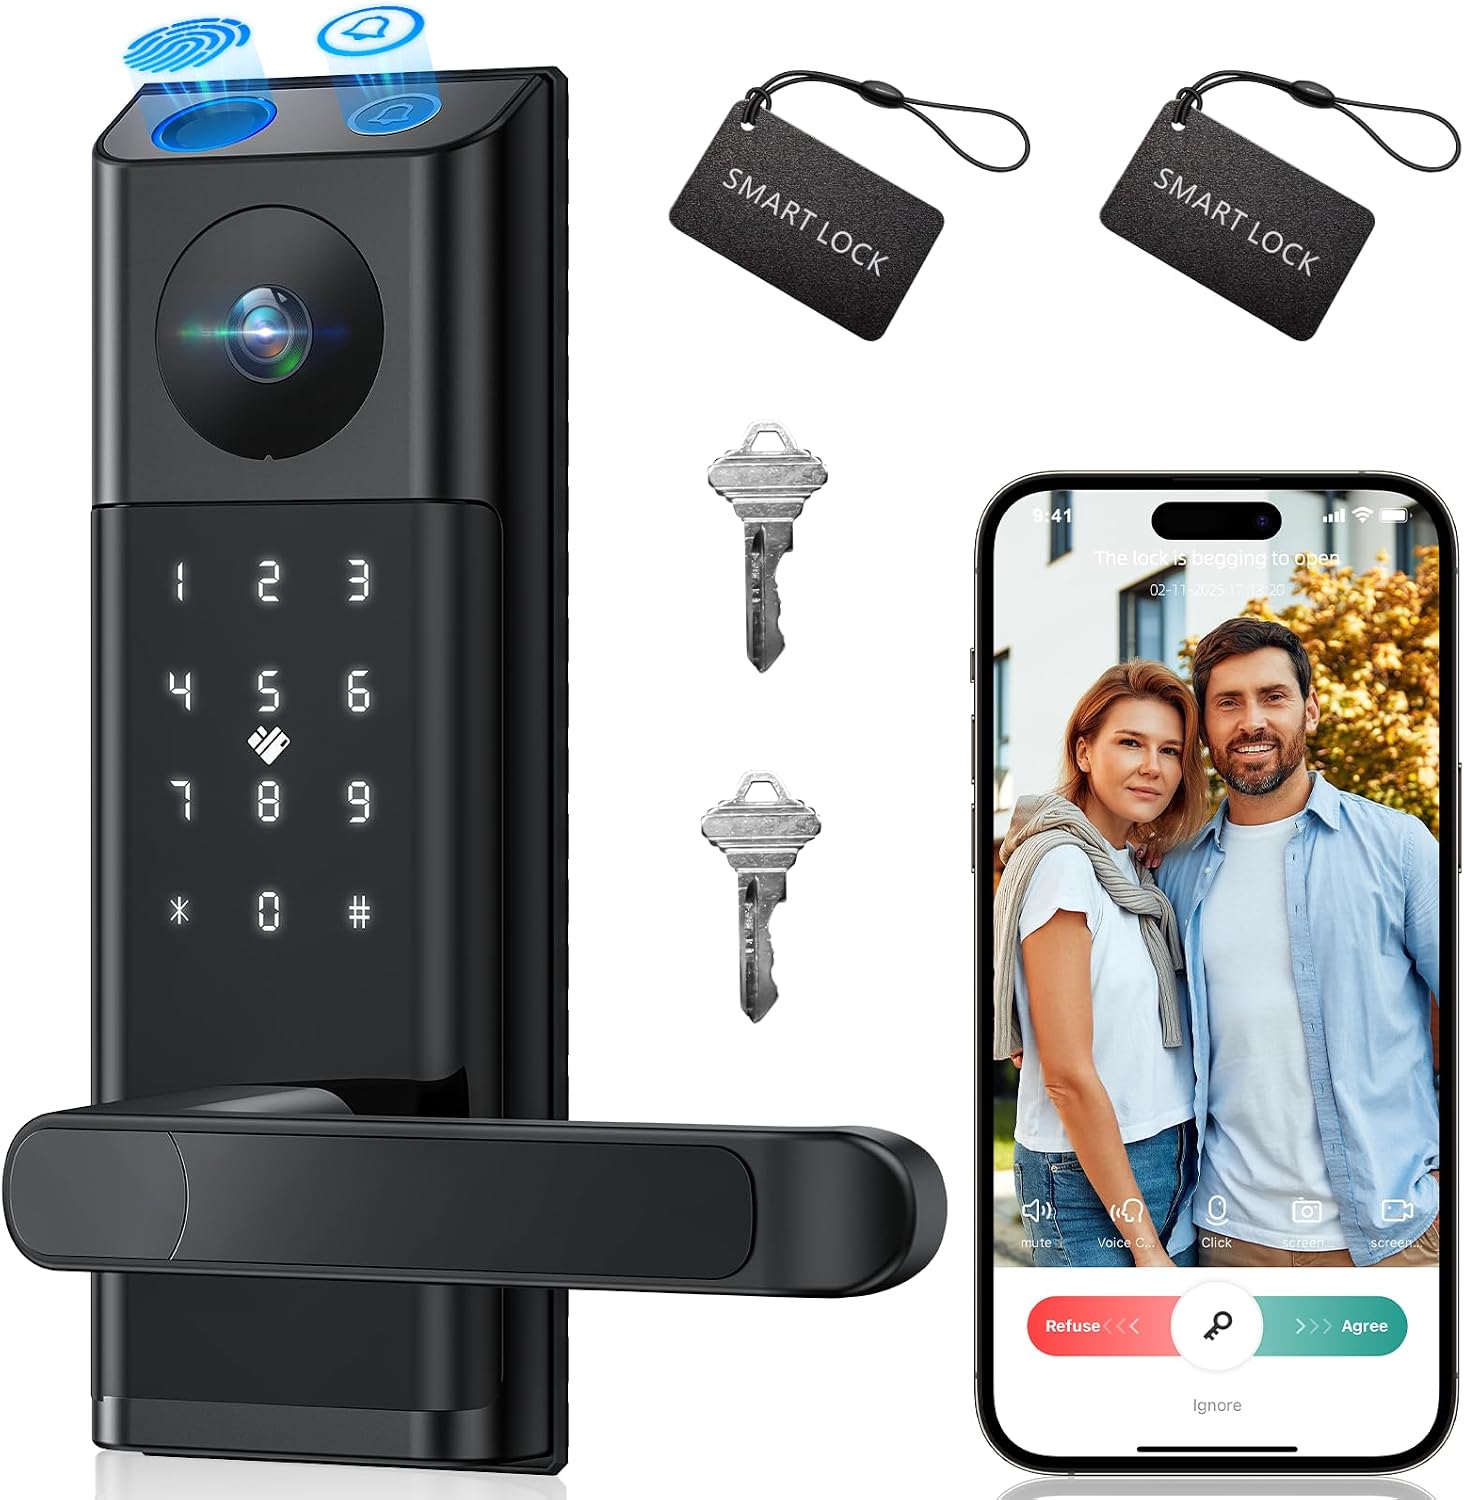
The pick for most front doors: Video Smart Lock with Camera & Doorbell,5-in-1 Door Lock with Handle
 Visit on Amazon →
This is the one I point people at when their door currently has a tired handle set and a deadbolt and they want both replaced in a single trip. You are swapping two pieces of hardware for one, and the camera and doorbell are built into the same unit, which means you do not have to run a second device, a second app, or a second power source at the same door.
That consolidation is the whole reason this lock exists in my recommendations. Every separate device on a front door is another thing to pair, another thing to charge, and another thing to explain to a tenant. A camera lock with a handle gets you video of your porch and code entry without adding a second install job.
For a first-time installer, the handle-style body is also the friendlier shape to work with, because you are replacing hardware that already has visible screws rather than fishing a bolt through a tight bore. If you are handy enough to hang a shelf, you can hang this.
Flaws but not dealbreakers: Replacing the handle means you are committing to the look of the whole set, not just the lock. If you have a finish or a style on that door you love, this is not the pick for you.
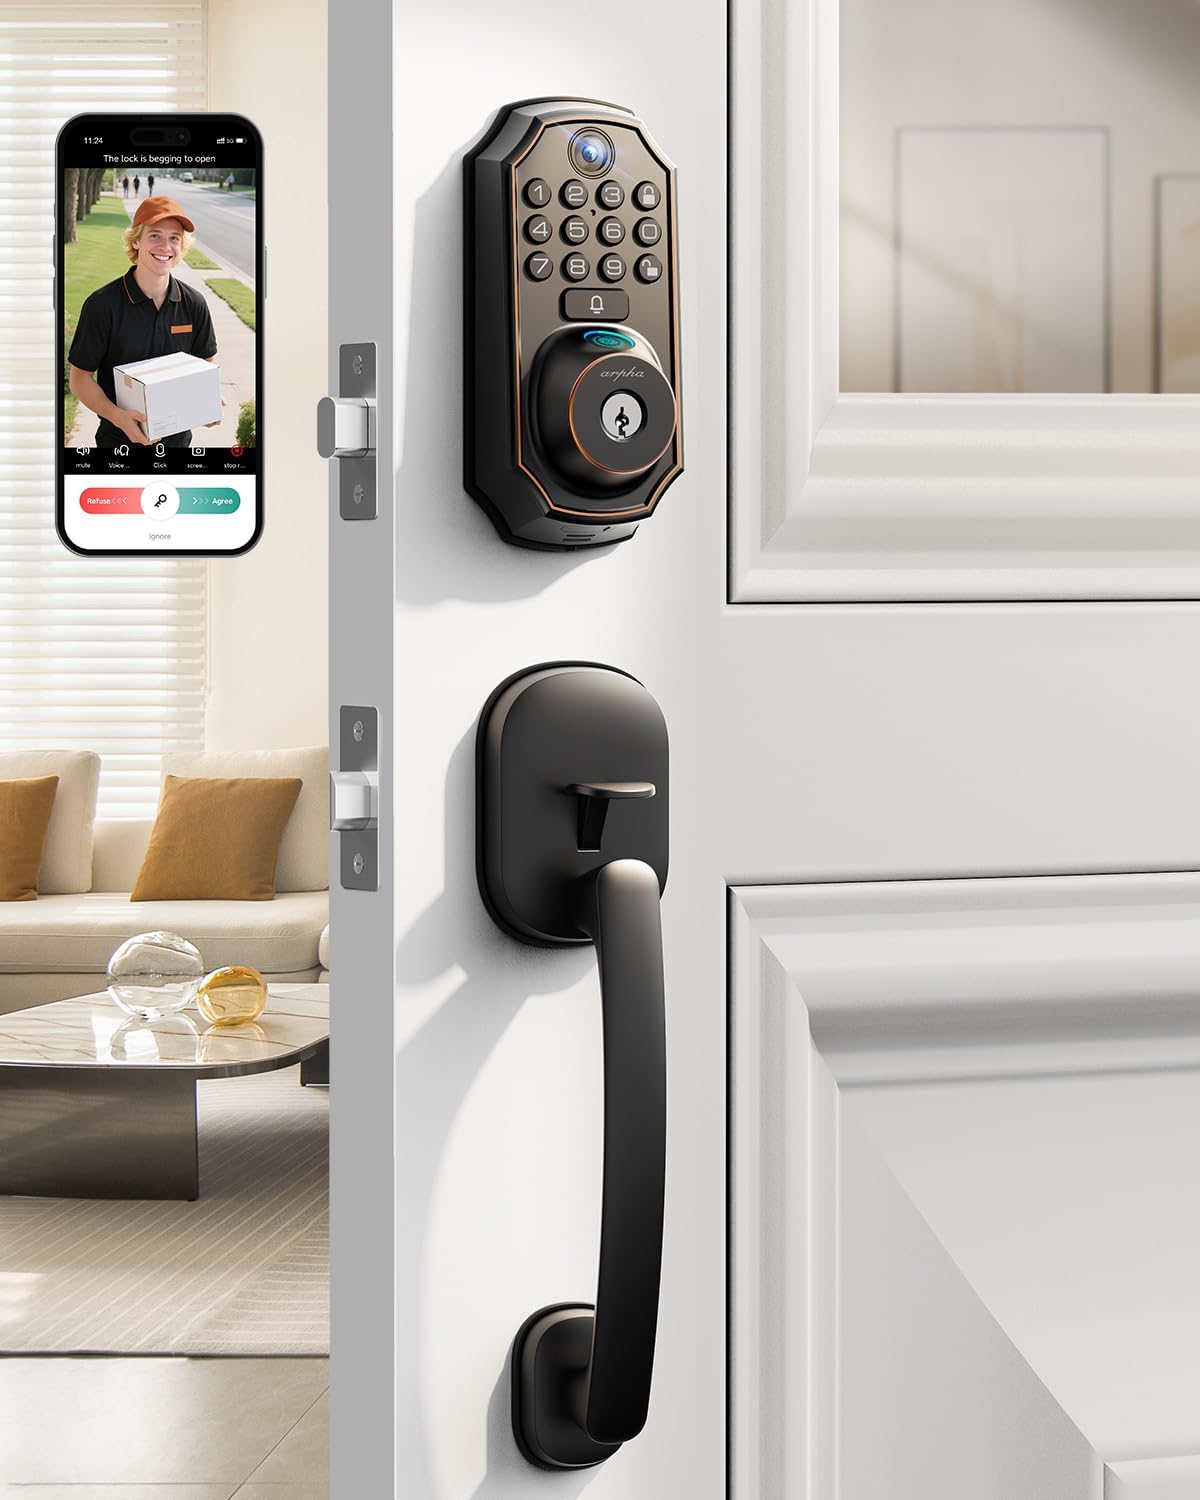
The step-up pick: WiFi Smart Lock with Camera, 5-in-1 Keyless Deadbolt for Front Door
 Visit on Amazon →
This is the one for a door where the handle stays. It is a deadbolt-format lock with the camera built in, and it drops into the bore you already have instead of asking you to replace the whole set. That matters for anyone who has spent money on a matching handle and knob, and it matters for rentals where the existing hardware is fine and only the locking side is dated.
A deadbolt swap is the install I can do fastest on a real door, and it is the one I would hand to someone who has never touched a lock before. You are removing one cylinder, transferring the hardware, and seating a new bolt. No handle alignment, no second set of screws.
The camera being in the deadbolt body also puts the lens at a sensible height on the door rather than buried down at the handle, which is a small thing until you are trying to see a face on your porch instead of a forehead.
Flaws but not dealbreakers: If your existing backset does not match, you are drilling, and drilling a steel door is a job for a pro. Measure first.
The install, step by step
This is the sequence I use, and it works on either lock above.
Step one: Photograph the old hardware. Take pictures of the inside and outside plates before you remove anything. You will want them when a spring or a screw does not look like it should.
Step two: Kill the power if there is any. Most of these run on batteries, but if you are replacing a wired doorbell button as part of the job, trip the breaker first. Ten seconds of caution beats a spark.
Step three: Remove the old hardware. Inside plate first, then the outside piece, then the bolt. Keep every screw in a cup. You will reuse some of them.
Step four: Check the bore and the frame. Look at the strike plate on the door frame. If the old bolt was throwing short, the frame hole may be too shallow for the new one. A chisel and five minutes fixes that.
Step five: Install the bolt. Seat it in the bore and confirm it moves freely by hand before you put anything else on the door.
Step six: Mount the exterior piece and the interior plate. Feed the cable through carefully. Do not pinch it. This is where most damaged units come from, and it is always the same mistake.
Step seven: Batteries in, cover on, but do not close the door yet. Test the lock with the door open. Watch the bolt extend. If it binds, you have an alignment problem, and it is much easier to fix now than after you have closed a door you cannot open.
Step eight: Close the door and test again. Confirm the bolt seats fully in the strike plate and the door does not rattle. Then open it again. Do this five times. If it works five times in a row, it will work in a month.
Step nine: Now pair the app. Not before. The app comes after the hardware is proven, so you know any problem you hit from here is software and not a bolt that is fighting the frame.
Setup order, and the 2.4GHz trap
Pair the lock to the app first. Get it talking over Bluetooth, set your codes, confirm the deadbolt throws from your phone. Only then move on to WiFi, and only then add a gateway if the lock you bought uses one.
If you do it backwards, you will spend an evening watching a spinner and end up doing a factory reset, which wipes every code you just set. I have done it twice this month, both times because I got impatient and skipped the Bluetooth step.
The second trap is the network. Most locks only see the 2.4GHz band. If your router hides that band behind a combined network name, the lock may never find it. The fix is usually in your router settings, not in the lock, and the manual will not mention it.
While you are in the app, turn on auto-lock. It is the most underrated feature in the entire category. For a rental or an Airbnb, it ends the "the tenant forgot to lock up" phone call forever. Set the delay long enough that you are not fighting the door on the way out with groceries, and short enough that it actually protects the house.
Set an anti-peeping code if your lock supports one. It is a couple of digits you punch in before your real code so that anyone watching over your shoulder sees nothing useful. Cheap locks rarely have it, and it matters more than most people think.
Where cheap locks actually fail
The failures I see are not dramatic. They are slow.
Fingerprint readers are wonderful for about six months and then they start missing on wet hands, cold hands, and worn fingers. If you buy a fingerprint lock, buy one with a keypad backup, or you will eventually lock out your own guests.
Subscription fees are the other quiet killer. Any lock that charges you monthly for basic remote access is a bad deal on hardware you already paid for. Read the app description before you buy, not after.
Hardware gaps are the third. I have sent more people to the hardware store for a missing cover plate or a bolt that did not match the frame than I can count. Open the box and inventory it before you start, not halfway through.
And ignore the "handle turns but does not engage" panic on lever locks. On some designs that is a quirk, not a defect. It is still worth a call to support if it happens on a brand-new install, but it is usually not the emergency it feels like.
What this all costs
Neither lock here is a luxury purchase, and neither one is in the under-$60 lottery zone where I have seen the losing tickets in person. Both sit in the range where the hardware is usually solid and the app is usually ugly but functional. Check current Amazon price on each before you commit, because that number moves.
The number that does not move is the install cost. A locksmith call for a residential lock swap runs into real money, and the only reason to pay it is a steel door, a non-standard bore, or a door that is already damaged. If you have a wood door and a screwdriver, you are the installer.
Add it up over five years and the math is boring in the best way. There is no rekeying when a tenant leaves, no key cutting, no drive across town to hand over access. You delete a code and add a new one. That is the entire pitch, and it is a good one.
The bottom line
A smart lock is only as good as the door it is mounted on and the person who mounted it. Do the measurements, install the hardware before you touch the app, prove the deadbolt throws with the door closed, and turn on auto-lock the same day. Do those four things and you will never think about your front door again, which is exactly what you paid for.