Most smart lock installation failures have nothing to do with the drill. They happen fifteen minutes later, on the couch, when the lock is already bolted to the door and the app cannot find it. I have watched that exact scene play out in support chats, in rental hallways, and once in my own kitchen at 10:40 on a Tuesday night. The hardware was fine. The order was wrong.
The short version: pair the lock to the app first, then add the gateway or the WiFi bridge. Do it backwards and you are looking at a factory reset that wipes every code you just set. I have repeated that mistake twice this month on purpose, just to confirm nothing has changed in how these locks behave.
The rest of this guide is the long version, from measuring the door to handing a tenant their first code.
Why you should trust me
I spent five years as a working locksmith before smart locks became the thing landlords called about. Rekeying deadbolts for property managers, drilling out seized cylinders at 7 a.m., cutting keys for tenants who lost theirs again. Around 2021 the calls changed: could I make the door open with a code so nobody had to drive across town to hand over a key.
I bought my first smart lock for an Airbnb after I got tired of hiding a key under a rock for guests. Since then I have installed north of 300 locks and doorbells, two for myself and the rest for landlords, hosts, and rental properties around Columbus. I read the manual cover to cover. I still get stuck on gateway pairing. Then I write down what fixed it so the next person does not lose an hour to the same wall.
I am not a sponsored influencer and I do not care which brand wins. I care whether the deadbolt actually throws, whether the fingerprint reader still works at month seven, and whether you can hand a tenant a code without handing over your phone.
How I picked and how I tested
Two locks made the cut for this guide, and they sit at opposite ends of the same job.
The first is a keypad handle set with a fingerprint reader and a built-in doorbell. It is what I put on a front door when the budget is tight, or when a tenant needs something that never asks for a subscription.
The second is a video smart lock with a camera and a doorbell built into the deadbolt. That is the one for a host who wants to see the porch and the door in a single app.
Neither lock gets written up from a bench test. Every lock I recommend gets bolted to a real door with a real strike plate, then used by people who do not read instructions. Before I trust one, I check three things: does the bolt throw fully into the frame, does the fingerprint reader pass on the first try with damp hands, and does it stay paired after the router reboots. Those three cover most of what goes wrong in a rental.
One caveat up front: I do not print prices here because listings move. Every product block below says the same thing, and you should check the current Amazon price before you commit.
The two locks in this guide
Both are entry hardware for a standard door. One replaces a handle set, one replaces a deadbolt and adds a camera. Pick based on what is already mounted on your door.
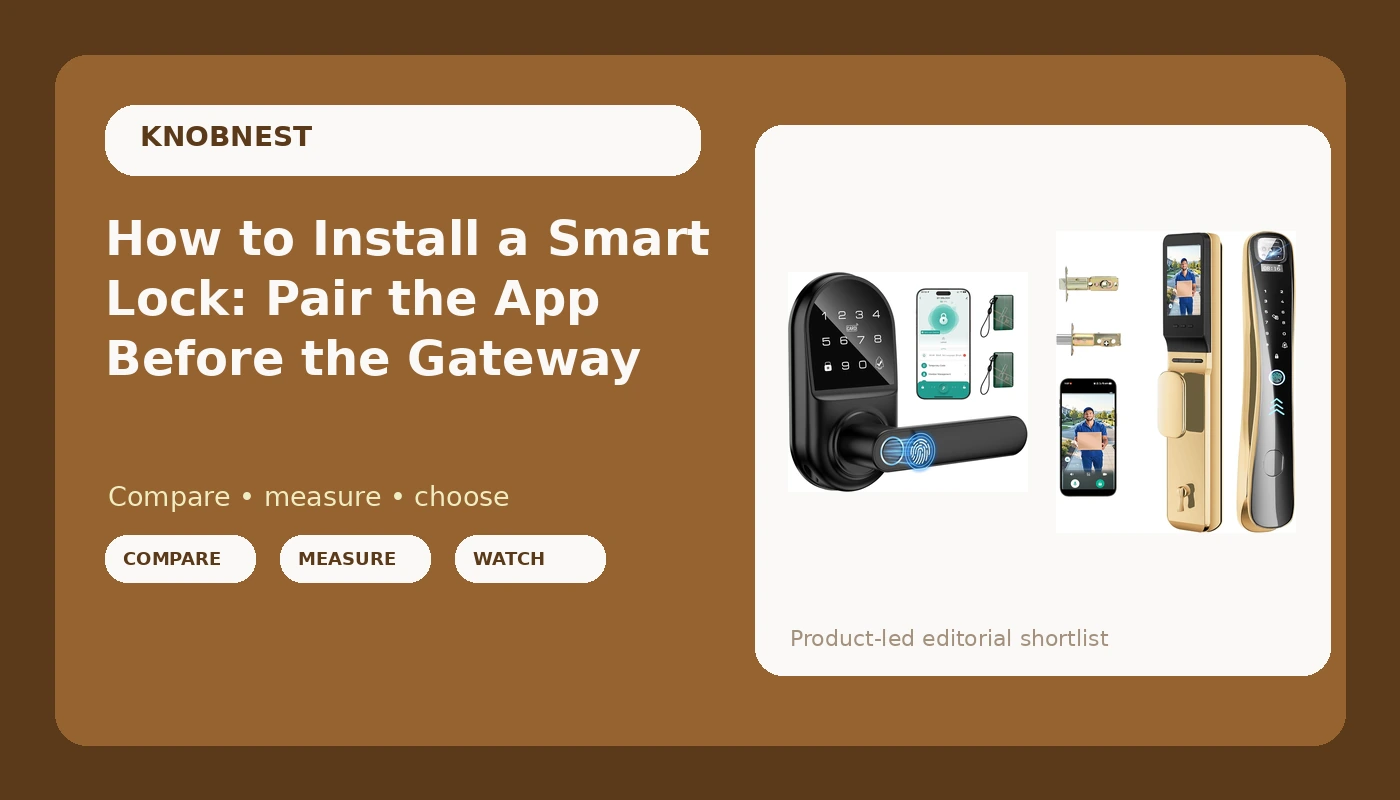
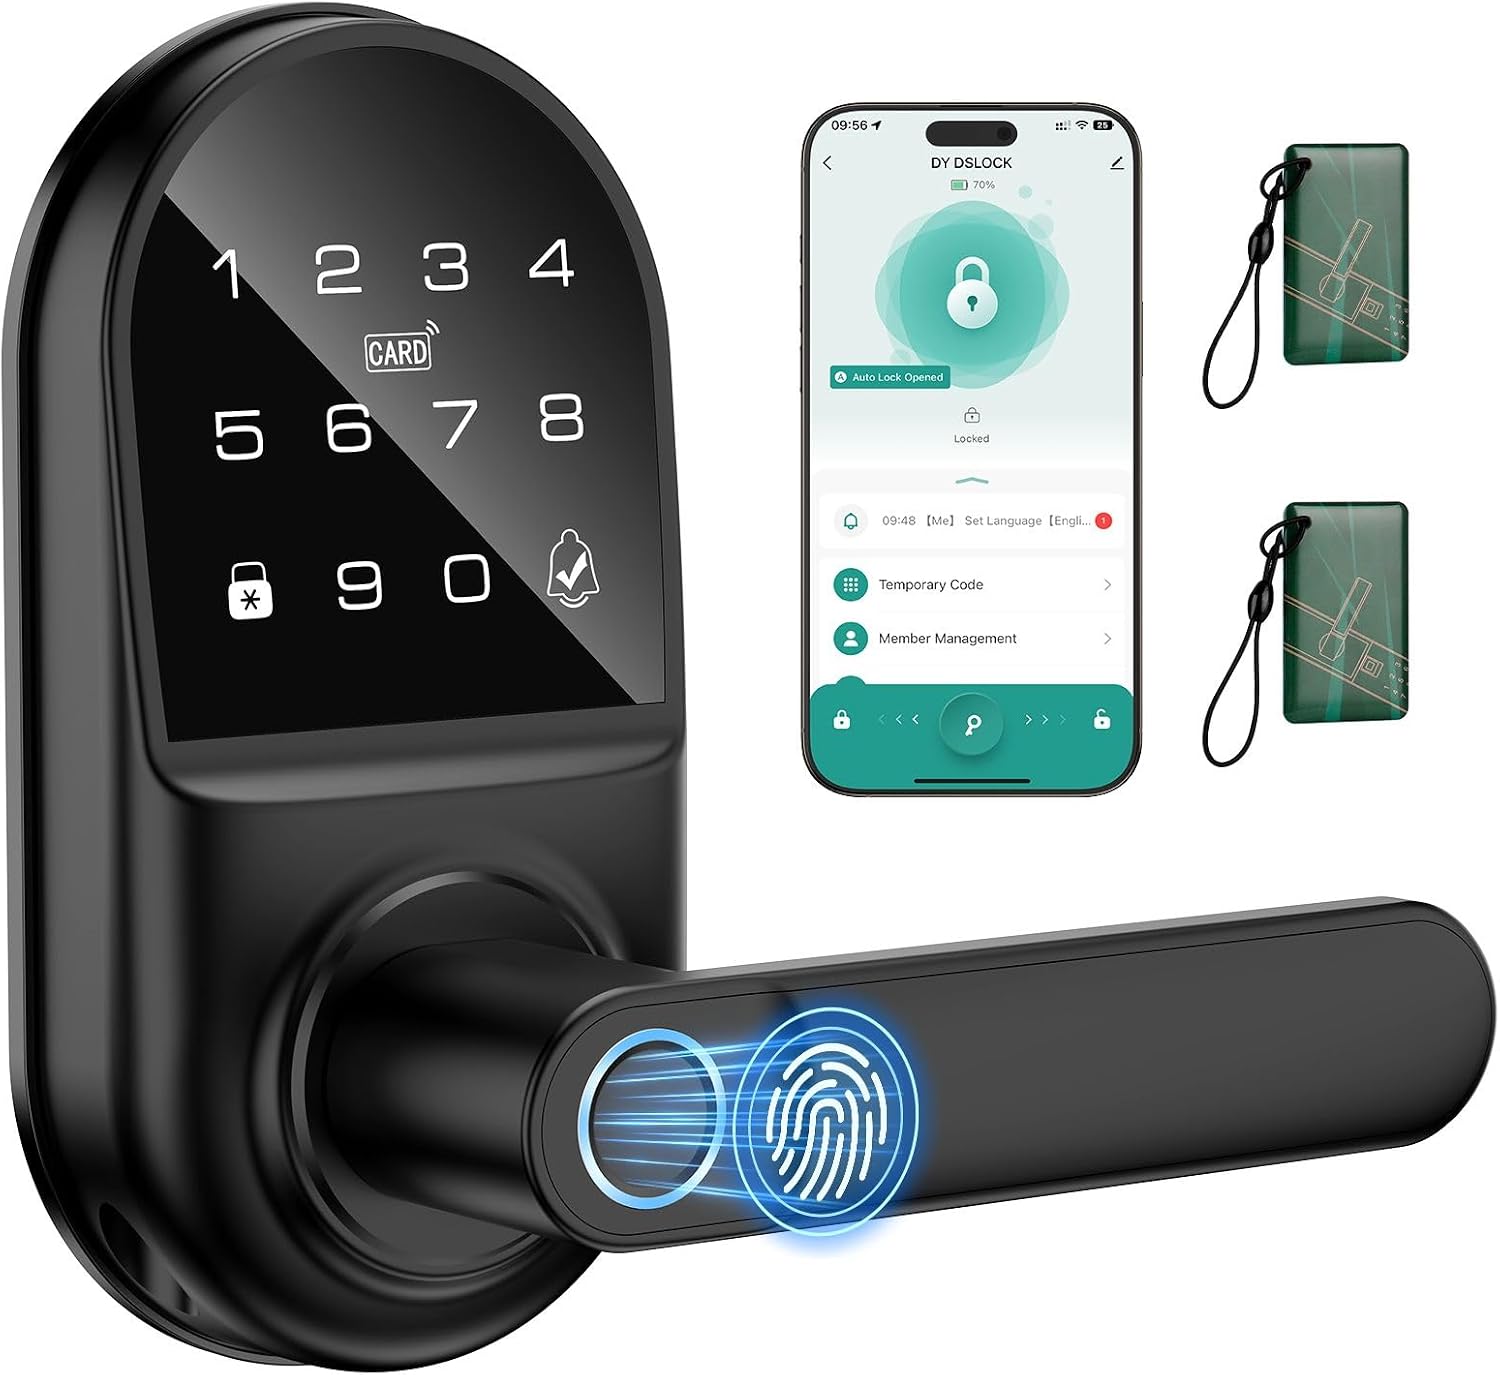
Budget pick: Smart keypad Door Lock with Handle,Fingerprint Keyless Entry Digital Lock with Built-in doorbell for Front Door,Bedroom,biometric Door knob, APP Control
 Visit on Amazon →
This is the lock I hand a landlord who needs six doors covered and does not want to think about three separate apps. Handle, keypad, fingerprint reader, and doorbell in one unit.
The mechanical install is the easy part. It replaces a standard handle set, so it uses the two holes most US entry doors already have: the 2-1/8 inch bore and the latch hole on the door edge. Pull the old handle set, drop this in, and you are done with the drilling side in about 20 minutes on a door that is not warped.
Flaws but not dealbreakers: the manual is the weak link. The pairing combo is buried, and if you have ever fought a Tuya-style app you know the feeling. Do the app first, add the gateway second, and you skip the support call entirely.
Anyone with a standard entry door and a tight budget will be fine here. It is also the right call for a bedroom or back door where you want a code and a fingerprint but no camera watching the hallway.
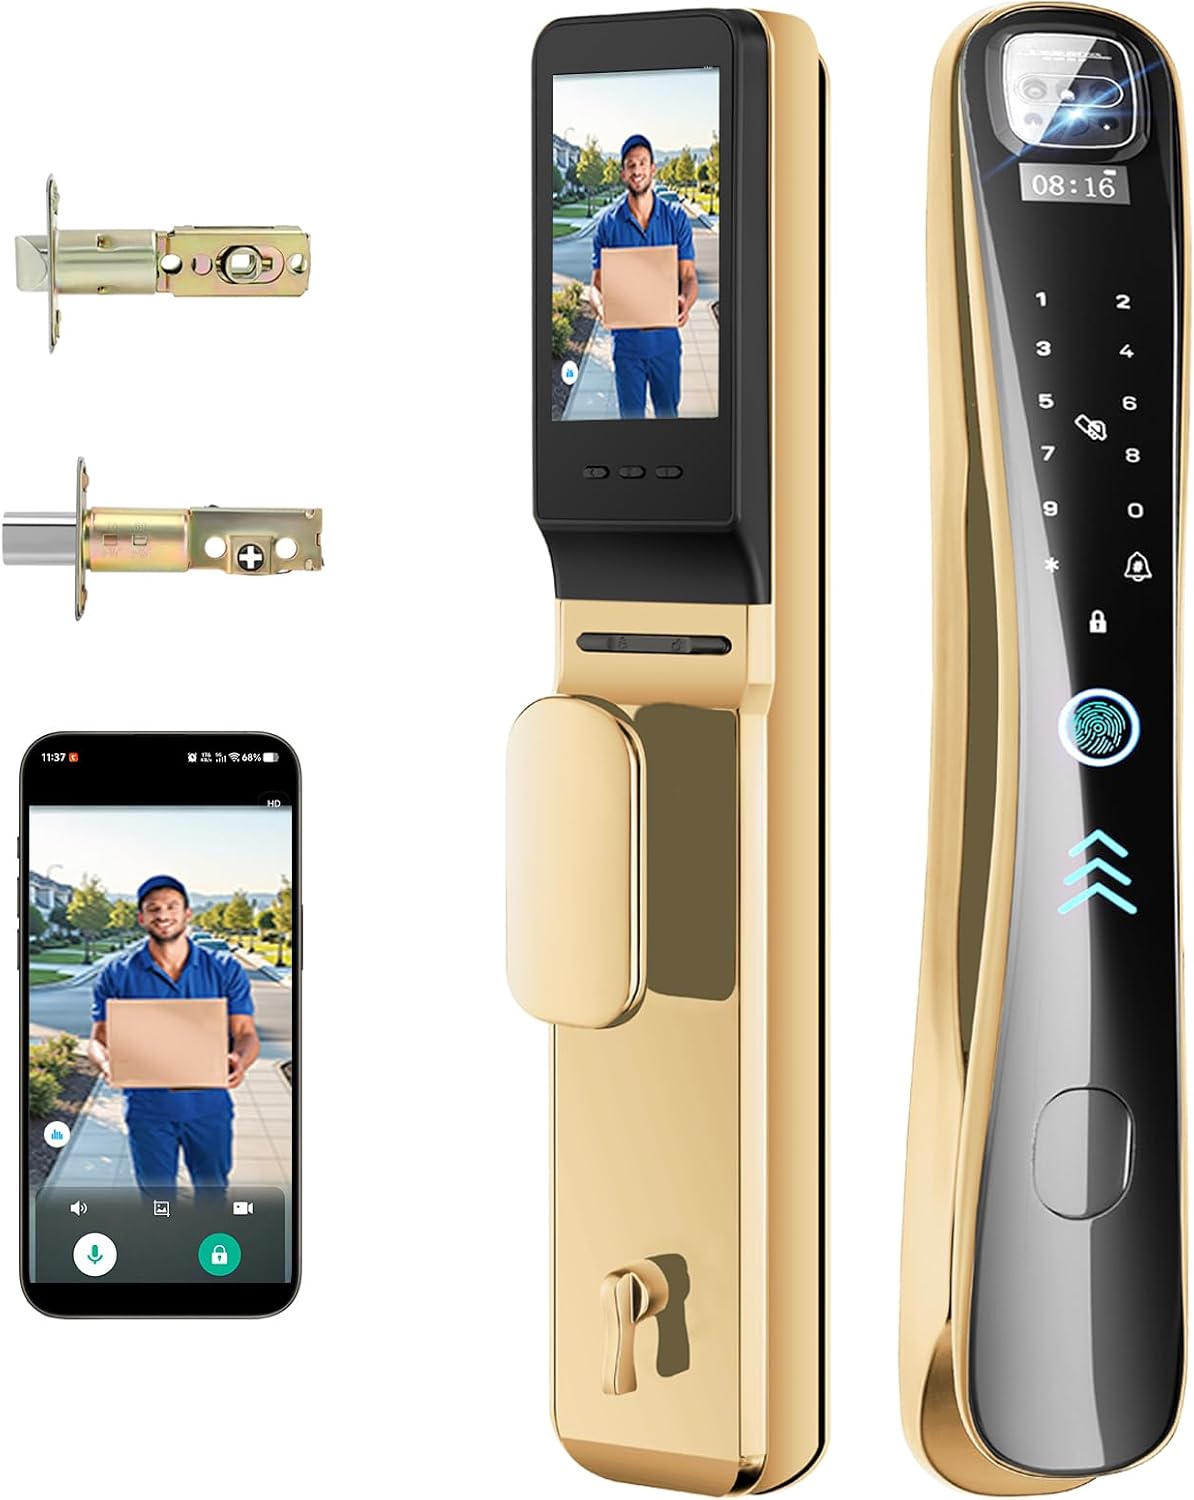
Upgrade pick: EIYSIE Video Smart Lock with Camera & Doorbell, 8-in-1 WiFi Keypad Deadbolt
 Visit on Amazon →
This is the one I put on a host's front door when they want the porch covered without adding a second device and a second app. Camera, doorbell, keypad, and deadbolt in one piece of hardware, which also means one hole pattern and one power decision instead of two.
Install it as a deadbolt replacement, which is the same 2-1/8 inch bore and 1 inch edge bore most doors carry. Because the camera lives in the lock, mounting height matters more than people expect. Put it where the lens can see the porch and the person standing at the door, not the ceiling.
Flaws but not dealbreakers: a camera in a lock means more battery drain than a keypad-only unit, so plan on charging or swapping batteries more often, especially through a cold snap. And a video lock only earns its keep if you actually use the camera. If you will not check the porch, buy the keypad lock and put the difference somewhere else.
Anyone running an Airbnb, or anyone who loses packages twice a year, will get their money out of this one.
The actual installation workflow
This is the order I use on every door, and it works on both locks above.
Step one: Check the door before you buy. Measure the backset, which is the distance from the door edge to the center of the bore. Most US doors are 2-3/8 inches or 2-3/4 inches, and both locks handle the common sizes, but a door that has been drilled out by a previous owner is a different problem. Look at the edge of the door and confirm the latch hole is not chewed up. A lock is only as good as the door it is mounted on.
Step two: Photograph everything before you take it apart. The old lock, the strike plate on the frame, the way the latch sits in the hole. You will want that photo when you are holding a new latch and a screw that does not look right.
Step three: Pull the old hardware and clean the holes. Vacuum the wood chips out of the bore. I have watched a lock fail to seat because of a decade of sawdust packed into the hole.
Step four: Install the new latch and the exterior half. Feed the latch so the bevel faces the frame, then slide the exterior assembly in and hold it while you attach the interior plate. Do not overtighten the screws. On a soft or hollow-core door, overtightening bows the plate and the bolt starts dragging.
Step five: Check the deadbolt throw before you do anything electronic. Close the door with the bolt extended and look at the gap between the bolt and the strike plate. If the bolt does not drop fully into the frame, the door looks locked and opens with a credit card. File or chisel the strike plate until it does. This step is the whole reason I still carry a chisel.
Step six: Batteries in, lock powered on, and let it sit. Do not start pairing while you are still holding the screwdriver. Get the door closed, the bolt throwing clean, and the hardware tight first.
Step seven: Pair the lock to the app. Put the lock into pairing mode, which on most of these is a button combination the manual buries on a foldout page. Add it to the app over Bluetooth before you touch WiFi or a gateway.
Step eight: Add the gateway or the WiFi bridge second. This is the step that ruins people's evenings. If you added the gateway first, or you tried to connect the lock straight to a 5GHz network, you are now doing a factory reset. Reset it, delete the device from the app, and start over in the right order.
Step nine: Set auto-lock, then set codes. Auto-lock is the single most underrated feature on any smart lock. Set it to 30 seconds or a minute and the "tenant forgot to lock up" phone call disappears from your life. Then set the entry codes, and if the lock supports an anti-peeping pin, turn it on and explain it to whoever uses that door.
Step ten: Test like a stranger would. Lock it, unlock it, use the fingerprint with wet hands, use the code with a glove on, and stand outside for a full minute to confirm the deadbolt stays thrown. If the lock has a camera, walk up at night and check the night vision before you trust it with a porch.
Pairing order, the 2.4GHz trap, and the factory reset
Most locks and gateways only speak 2.4GHz. Your router almost certainly broadcasts both bands under one name, and the lock will not tell you that it cannot see the network. If pairing fails on the first try, split the bands in your router settings or park a 2.4GHz-only guest network and try again. The box says WiFi in letters the size of your thumb. The 2.4GHz requirement lives in the fine print.
If you did the order backwards, do not fight it. Factory reset the lock, delete it from the app, and start clean. The reset wipes every code you set, which is the punishment for skipping the order. It takes ten minutes and it works.
One more thing for rentals: if you are buying two locks for two doors in the same building, buy two identical locks. Guest codes and app workflows carry over, and you will not be standing in a hallway at 11 p.m. trying to remember which app opens which door. I run two different brands on my own two doors, so I know exactly how that feels.
The competition and why it lost
August and Schlage come up in every landlord conversation I have, and they deserve it. August wins on retrofit installs where you keep your existing deadbolt and add the smart half. Schlage wins on build quality and on codes you can actually hand to a tenant. Neither one is in this guide because this guide is about installing the two locks above, not about the whole category.
The generic Tuya and Smart Life locks are a different story. The app is ugly and the pairing flow is undocumented, but the hardware is usually solid, and that is where a lot of budget picks come from. The pain is never the metal. It is the setup order.
What I avoid: any lock that charges a subscription for basic remote access. Paying monthly to open your own door is the worst deal in smart home. For doorbells the same rule applies. A subscription-free doorbell with local storage beats a cloud plan that quietly costs more than the doorbell after two years.
What this all costs
I am not printing prices because they move, and a number that is right today is wrong next month. Check current Amazon price on each listing above and do the math per door, not per box.
The real math for a landlord is not the lock. It is the drive across town to hand over a key, and the 9 p.m. phone call because a tenant locked themselves out. One auto-lock setting ends a whole category of service calls, and that is worth more than the hardware on six doors.
For a host, the math is packages and late check-ins. A video lock that shows you the porch pays for itself the first time you catch a guest arriving with a story about a broken keypad.
The bottom line
Smart lock installation is a mechanical job with a software trap at the end. Get the bolt throwing, then pair the app, then add the gateway, then set auto-lock. In that order, you are done in an afternoon.
Get the order wrong and you will spend that afternoon on support chat. I know, because I have done both.